Excerpt:
If you're experiencing issues like crashes, installation errors, or networking problems in QuickBooks Desktop, manually uninstalling and reinstalling the software can help resolve these. This guide walks you through essential steps such as backing up your data, uninstalling via Control Panel, renaming installation folders, and reinstalling QuickBooks. It also covers activation to ensure you're back up and running, keeping your financial management smooth and error-free.
 Add As A Preferred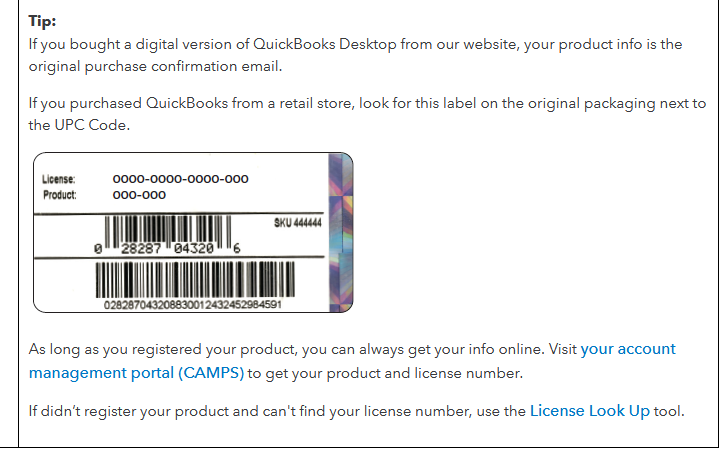
You may need to manually uninstall and reinstall QuickBooks Desktop to fix some of the most common errors encountered during the course of your work.
These errors are as follows:
Note: The latest QuickBooks Desktop 2024 version has been released by Intuit. You can download it from here.
Below are some scenarios in which you need to uninstall & reinstall QuickBooks desktop.
There are a few cautionary actions you need to take when you start un-installation and re-installation of the QB Desktop manually. Let’s check them out:
As soon as the QuickBooks software gets uninstalled or reinstalled in your system, you are prompted to enter the Product and license number to log back into the software. So, it is important to keep it in check. It should be on the original package. But if you bought it online, it will be available on the purchase confirmation email.

For this, press the F2 key or the CTRL+1 tabs to open the Product Information window, where you will find the product registration information.
Before uninstalling QuickBooks Desktop, it’s crucial to back up your important data, including company files, financial records, and other relevant information.
To back up your data follow the steps:
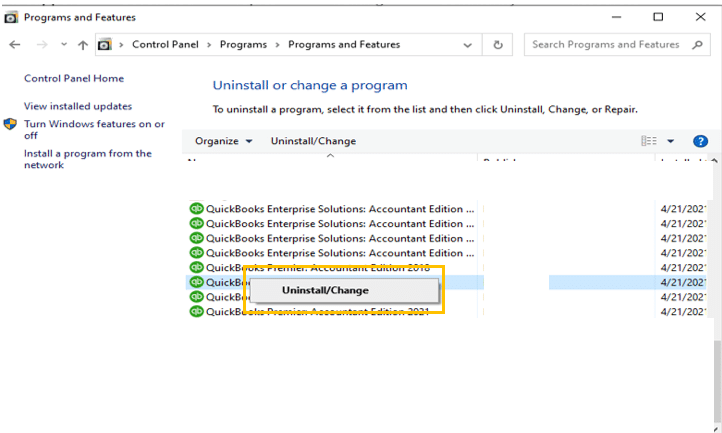
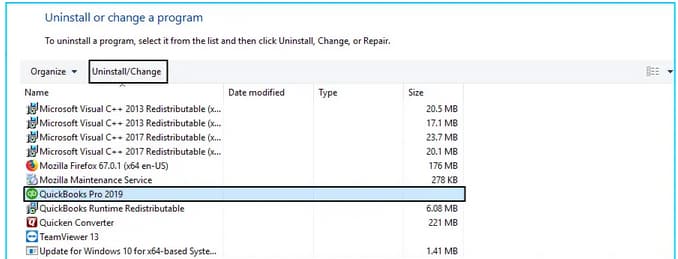
Uninstalling QuickBooks Desktop requires you to navigate to Windows “Control Panel” and then from there select the “Programs and Features” section that lists all the software installed on your computer. There you will get an option to give the command to uninstall QuickBooks Desktop.
Follow the instructions below to uninstall QuickBooks Desktop from Windows Control Panel:
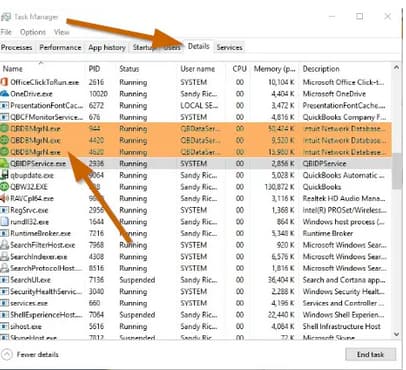
After uninstalling QuickBooks Desktop from the control panel, you also need to stop the services running in the background and delete any local files stored on your computer.
If you get an access error message “The access denied while renaming the folder“ at the time of renaming the folder, adhere to the following steps:
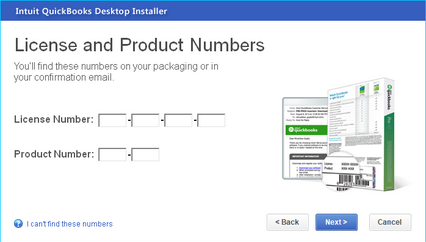
Note: Type the credentials just as they were mentioned in the system earlier.
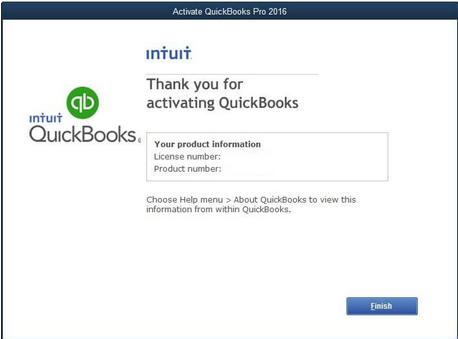
Once you are done with installing QuickBooks, it’s time to activate it so you can access the exclusive QB features.
For a manual activation, adhere to the following steps:
Hopefully, the information given above will be useful to you. But if you are still facing any kind of issues with your software and need professional assistance regarding accounting, bookkeeping & accounting software-related issues, then feel free to get technical support with us at +1-802-778-9005, or you can email us at support@ebetterbooks.com
Reinstalling QuickBooks Desktop should be a straightforward process, but sometimes errors can occur that prevent a smooth installation. Here’s how to fix the most common issues:
Ensure your computer meets the minimum system requirements for your QuickBooks Desktop version. Insufficient RAM or outdated Windows/macOS versions can cause installation failures.
Download and run the QuickBooks Install Diagnostic Tool from the QuickBooks Tool Hub to fix common installation issues automatically.
Security software can sometimes block QuickBooks installation. Temporarily disable your antivirus and firewall, then retry installing QuickBooks.
If reinstalling normally doesn’t work, try a clean install using the QuickBooks Clean Install Tool:
Errors during installation may be caused by damaged Windows components. Try the following:
Corrupt installation files can cause errors. Download a fresh QuickBooks installer from Intuit’s official website and ensure you’re using the correct version.
For older versions, right-click the QuickBooks setup file, go to Properties > Compatibility Mode, and select an earlier Windows version.
If errors persist, reach out to QuickBooks Support for advanced troubleshooting.
By following these steps, you can resolve most QuickBooks Desktop installation errors and get back to business quickly!
If you no longer need QuickBooks Desktop on a specific device or want to transfer your license, deactivating it ensures proper account management. Here’s how to do it:
If you plan to reinstall or transfer QuickBooks, make sure to save your license number before deactivation.
If you need to uninstall QuickBooks Desktop from your computer—whether for troubleshooting, upgrading, or reinstalling—follow these simple steps based on your operating system.
Need further help? Check Intuit’s support page for troubleshooting assistance.
Installing QuickBooks Desktop on your computer is a straightforward process, whether you’re using Windows or Mac. Follow the steps below to ensure a smooth installation.
Before you begin, check that your computer meets QuickBooks Desktop’s system requirements for the version you’re installing.
Now you’re all set to start using QuickBooks Desktop! If you encounter any issues, check the QuickBooks Tool Hub for troubleshooting.
If you’ve purchased a new computer and need to move QuickBooks Desktop, you can easily transfer your software, company files, and license details. Follow these simple steps to ensure a smooth transition.
For QuickBooks 2019 and later, you can use the QuickBooks Migration Tool to simplify the process. It transfers QuickBooks and up to three company files along with necessary settings.
If you need to reinstall QuickBooks Desktop, you’ll need your license number and product key. Here’s how you can find them:
By following these steps, you can easily locate your QuickBooks Desktop license number for a smooth reinstallation.
Still have questions? Explore our detailed FAQs.


