Excerpt:
Migrating financial data from QuickBooks Desktop (QBDT) to QuickBooks Online (QBO) often encounters critical technical barriers related to data volume, file accessibility, and platform differences. The most significant obstacle for many users is the Total Targets limit, which prevents files exceeding 4,000,000 targets (for QBDT 2022 and newer) from being imported, necessitating the use of the Condense Data utility with a mandatory historical backup. Conversion errors are also frequently caused by file location, requiring the QBDT file to be copied from any network or deep folder path to the local C-drive and opened in Single-User Mode for the export process to stabilize. Handling complex data like payroll requires specific adherence to protocol: because QBO legally prevents the deletion of employees with pay history, users must ensure payroll setup is completed in a new QBO company after the initial data transfer. Furthermore, any underlying data corruption must be repaired using QBDT's Verify Data and Rebuild Data tools prior to export. These expert-validated steps are essential to navigate the platform limitations and successfully move historical accounting records to the cloud.
Highlights (Key Facts & Solutions)
Overview
It’s common to encounter errors related to payroll, company file size, failed conversion attempts, data that needed to be converted, corrupt data, etc. While converting from QuickBooks Desktop to QuickBooks Online. You’re not alone in facing these challenges.
Remember, there are solutions to every problem. By following the solutions provided in this article, you can resolve the errors encountered during the conversion from QuickBooks Desktop to QuickBooks Online, ensuring a smooth conversion process and reducing any anxiety you may have.
Numerous users opt to transition from QuickBooks Desktop to QuickBooks Online for improved accessibility and time efficiency. However, this shift can become challenging due to various errors encountered during the conversion process.
Migrating from QuickBooks Desktop to QuickBooks Online can be a straightforward process, but several common errors may arise during or after the transition.
Here are the key causes of these errors:
Unsupported File Types: The QuickBooks Data Migration Tool may fail if you attempt to transfer unsupported file types, such as backup files or certain system configuration files ( .xls, .xlsx ).
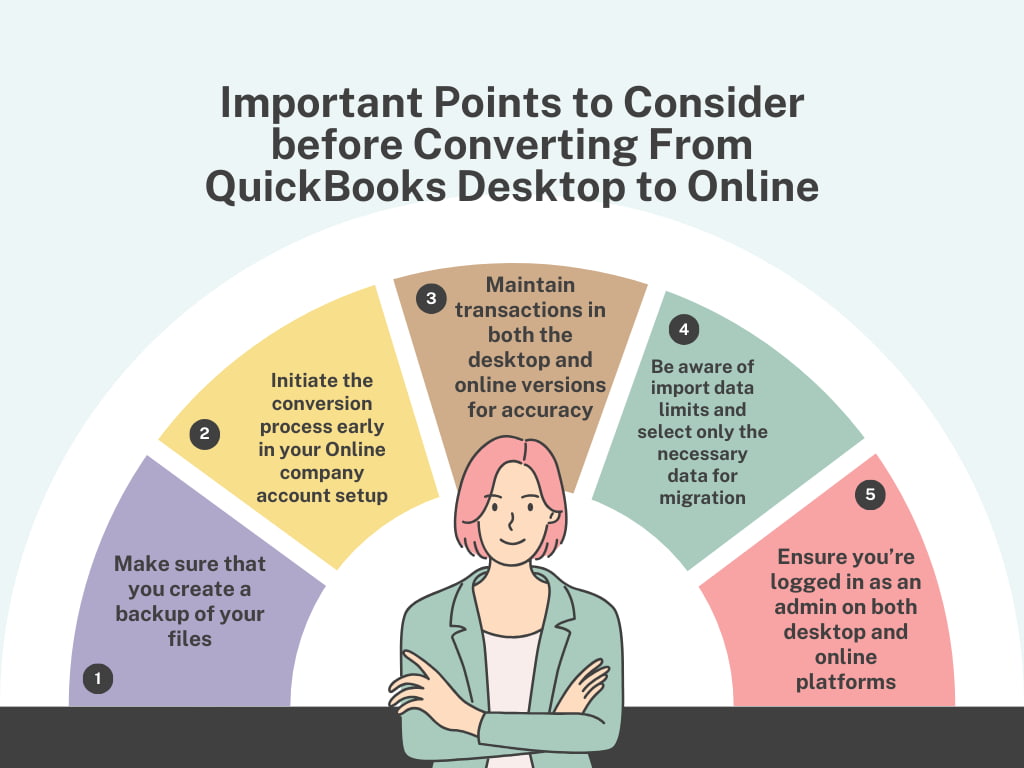
Here is the list of some important points that you need to know at the beginning of converting QuickBooks Desktop to Online:
Users may encounter errors indicating, “Please delete all employees who have already entered QuickBooks Online.” This error disrupts the process and may lead to duplicate entries, complicating data migration.
Follow the steps below to solve this error:
When migrating data from QuickBooks Desktop to QuickBooks Online, replacing employees’ data can be challenging due to their integration with payroll items, year-to-date history, and other payroll setup elements. QuickBooks Online might find it difficult to transfer this interconnected data seamlessly.
Follow these tips to avoid data loss or duplication, which can complicate the conversion process. Tips:
QuickBooks Online won’t allow you to delete employees with paychecks or pay history. To move your data, you’re required to create a new QuickBooks Online company without payroll set up.
For Windows users
This error might occur when your payroll is locked in QuickBooks Desktop while it is in QuickBooks Online or if there is no payroll information. This error can prevent the successful transfer of payroll data from QuickBooks Desktop to QuickBooks Online.
Turn on payroll on the desktop by following the steps below:
For Mac users:
This error occurs during the conversion process because of the limitations on the size of the file being transferred. QuickBooks Online imposes restrictions on the amount of data that can be transferred, and if the file exceeds this limit, the error message Your file is too big to export displays. The users are required to choose the data to export selectively.
When moving the file from QuickBooks Online, you’re supposed to check the number of targets in the QuickBooks Desktop Company file. QuickBooks Desktop CA, QuickBooks Desktop UK, and QuickBooks MAC versions have a limit of 350,000 targets.
Alternatively, QuickBooks Desktop Pro/Premier 2020, latest release and newer (CA), and QuickBooks Desktop Pro/Premier 2018, latest release and newer (US), have a limit of 75,000 targets. If the number of files exceeds the limit, then try condensing the QuickBooks Desktop file by following the steps mentioned below:
This error There was a problem checking this company for import eligibility typically arises during the conversion process due to several reasons:
These factors can prevent the company from being eligible for data import, hindering the conversion process until the issues are resolved. Follow the steps below to fix this issue:
Note: If the error persists, consider creating a new Online account. However, to avoid any complications, ensure that you cancel your old subscription first.
If you don’t want to start a new account, follow these:
This error often occurs during the conversion process, particularly if you don’t have the latest release of QuickBooks Desktop for Mac installed. The error arises as a notification or pop-up message within the QuickBooks Desktop interface. It indicates the message “Error in processing data for QuickBooks Desktop for Mac.” It will include details about the specific issue encountered during the processing.
This error hampers the conversion process by interrupting the flow of data transfer from QuickBooks Desktop for Mac to another platform or version. Without successfully processing the data, the migration or conversion cannot proceed smoothly, potentially leading to delays or incomplete data transfer.
Follow the steps below to solve this issue:
Note: If the issue persists, check for data damage by running QuickBooks, verifying, and rebuilding utilities.
This error arises when attempting to export data from QuickBooks Desktop. It typically occurs if your Desktop company is located on a drive other than your local C-drive or if it’s open in multi-user mode. Such configuration can prevent the export process from accessing the necessary files, resulting in this error message.
This error hampers the conversion process by preventing the export of data from QuickBooks Desktop. Without successfully exporting the data, it cannot be transferred to the desired destination, such as QuickBooks Online or another accounting software.
As a result, the migration process will be halted, the conversion will be delayed, and potential disruptions to business operations will occur.
Follow the steps below to solve this error:
This error typically occurs if the path to your company file is more than four folders deep. For example, if the file path resembles C:\My Stuff\QuickBooks files\My Company\2016\Work Files\data.qbw, it exceeds the maximum depth allowed for successful data export.
When the file path exceeds the maximum depth allowed, the export process fails, halting the migration. As a result, the data intended for transfer remains inaccessible in the QuickBooks Online platform, disrupting the conversion timeline and impeding the transition to the new accounting system.
Follow the steps below to resolve this error:
This message typically appears if you’re not using the latest release of QuickBooks Desktop. Updating your company file is necessary to ensure compatibility with the migration process to QuickBooks Online. To resolve this error, update your QuickBooks Desktop to the latest release and attempt to migrate to QuickBooks Online again.
This error hampers the conversion process by indicating failure in migrating data to QuickBooks Online. With Successful data migration, the transition to QuickBooks Online can proceed as planned, resulting in delays and potential disruptions to business operations.
This error arises because a canceled QuickBooks Online subscription renders the Company inaccessible for data import. As a result, the conversion process is halted, requiring resolution such as reactivating the QuickBooks Online subscription.
Follow the steps below to solve this error:
This error appears during the conversion process due to connection issues or browser-related issues. When attempting to access or transfer data, a timeout may occur if the connection between the user’s device and the server is interrupted or unstable.
Additionally, browser-related issues such as incompatible settings or extensions can also contribute to this error.
Follow the instructions below to solve this issue:
This error typically occurs due to server-side issues on QuickBooks Online’s end. Temporary server maintenance, network congestion, or technical glitches could cause this.
To resolve this error during the QuickBooks Desktop to Online process, if you already have a qbw file on your local drive, ensure to address any potential data loss issues beforehand.
Important Tip: If the issue still needs to be resolved, it might be due to corruption in the company file. In that case, you can use the Verify and Rebuild Data tool in QuickBooks.
Transitioning from QuickBooks Desktop to QuickBooks Online may cause errors, such as subscription issues, outdated software, or data location conflicts. Due to the conversion’s complexity, hiring an expert is advisable for a smooth transition.
This error happens if the QuickBooks Desktop company file is open or being accessed by another program, preventing it from being exported to QuickBooks Online.
Solution for Windows:
Solution for Mac:
This error occurs if you attempt to convert a QuickBooks Desktop file that is not supported for conversion to QuickBooks Online. It typically happens with non-US versions of QuickBooks or very old versions of QuickBooks Desktop.
Solution for Windows:
Solution for Mac:
This error occurs if QuickBooks Online is unable to validate the data from QuickBooks Desktop during the import process, often due to corrupted or invalid data.
Solution for Windows:
Solution for Mac:
This error can occur if the multi-currency feature is enabled in QuickBooks Desktop, but QuickBooks Online cannot import multi-currency data properly.
Solution for Windows:
Solution for Mac:
This error may occur when QuickBooks is trying to generate or access PDF-related features (like reports or invoices) during the conversion process, and the system needs help locating or accessing a compatible PDF viewer. This could interrupt the data export or conversion process.
Solution for Windows:
Solution for Mac:
When using the Condense Data utility to reduce your file size below the required target limit, QuickBooks removes the detail of closed transactions (invoices, bills, etc.) from the cutoff date and replaces them with summary journal entries. This action is permanent and cannot be undone within that condensed company file.
[Original File Name] Historical.QBW).It is common to see differences in financial reports, particularly the Balance Sheet, immediately following a Desktop-to-Online migration. This results from the differing architecture between the two platforms, especially in handling tax and payroll liabilities.
The conversion limit is not based on the file size in megabytes (MB) but on the total number of targets (or detail lines) within your QuickBooks Desktop company file.
QuickBooks Online prohibits the full deletion of any employee records with existing pay history because this data is tied to federal, state, and local tax compliance requirements (e.g., W-2s and tax filings). Deleting the record would compromise this legally required historical data.
You must complete both actions to resolve this specific error, as the issue involves both file access mode and file location stability.
Disabling the multi-currency feature in QuickBooks Desktop is a common step to facilitate migration (as QBO handled multi-currency differently or not at all in earlier versions), but it is a highly destructive action that cannot be reversed.
Yes, running the Verify Data and Rebuild Data utilities is the official, intended method provided by Intuit to repair data corruption within a QuickBooks Desktop file. It is generally safe, provided you follow the backup protocol.
[File Name] Before Rebuild.qbw) before starting the rebuild. This backup acts as a safety copy in the rare event the repair process causes new issues.
