callnow

Live Support

+1-802-778-9005
Uncategorized

Create and Send Invoices in QuickBooks: A Complete Guide

What is QuickBooks Invoicing?

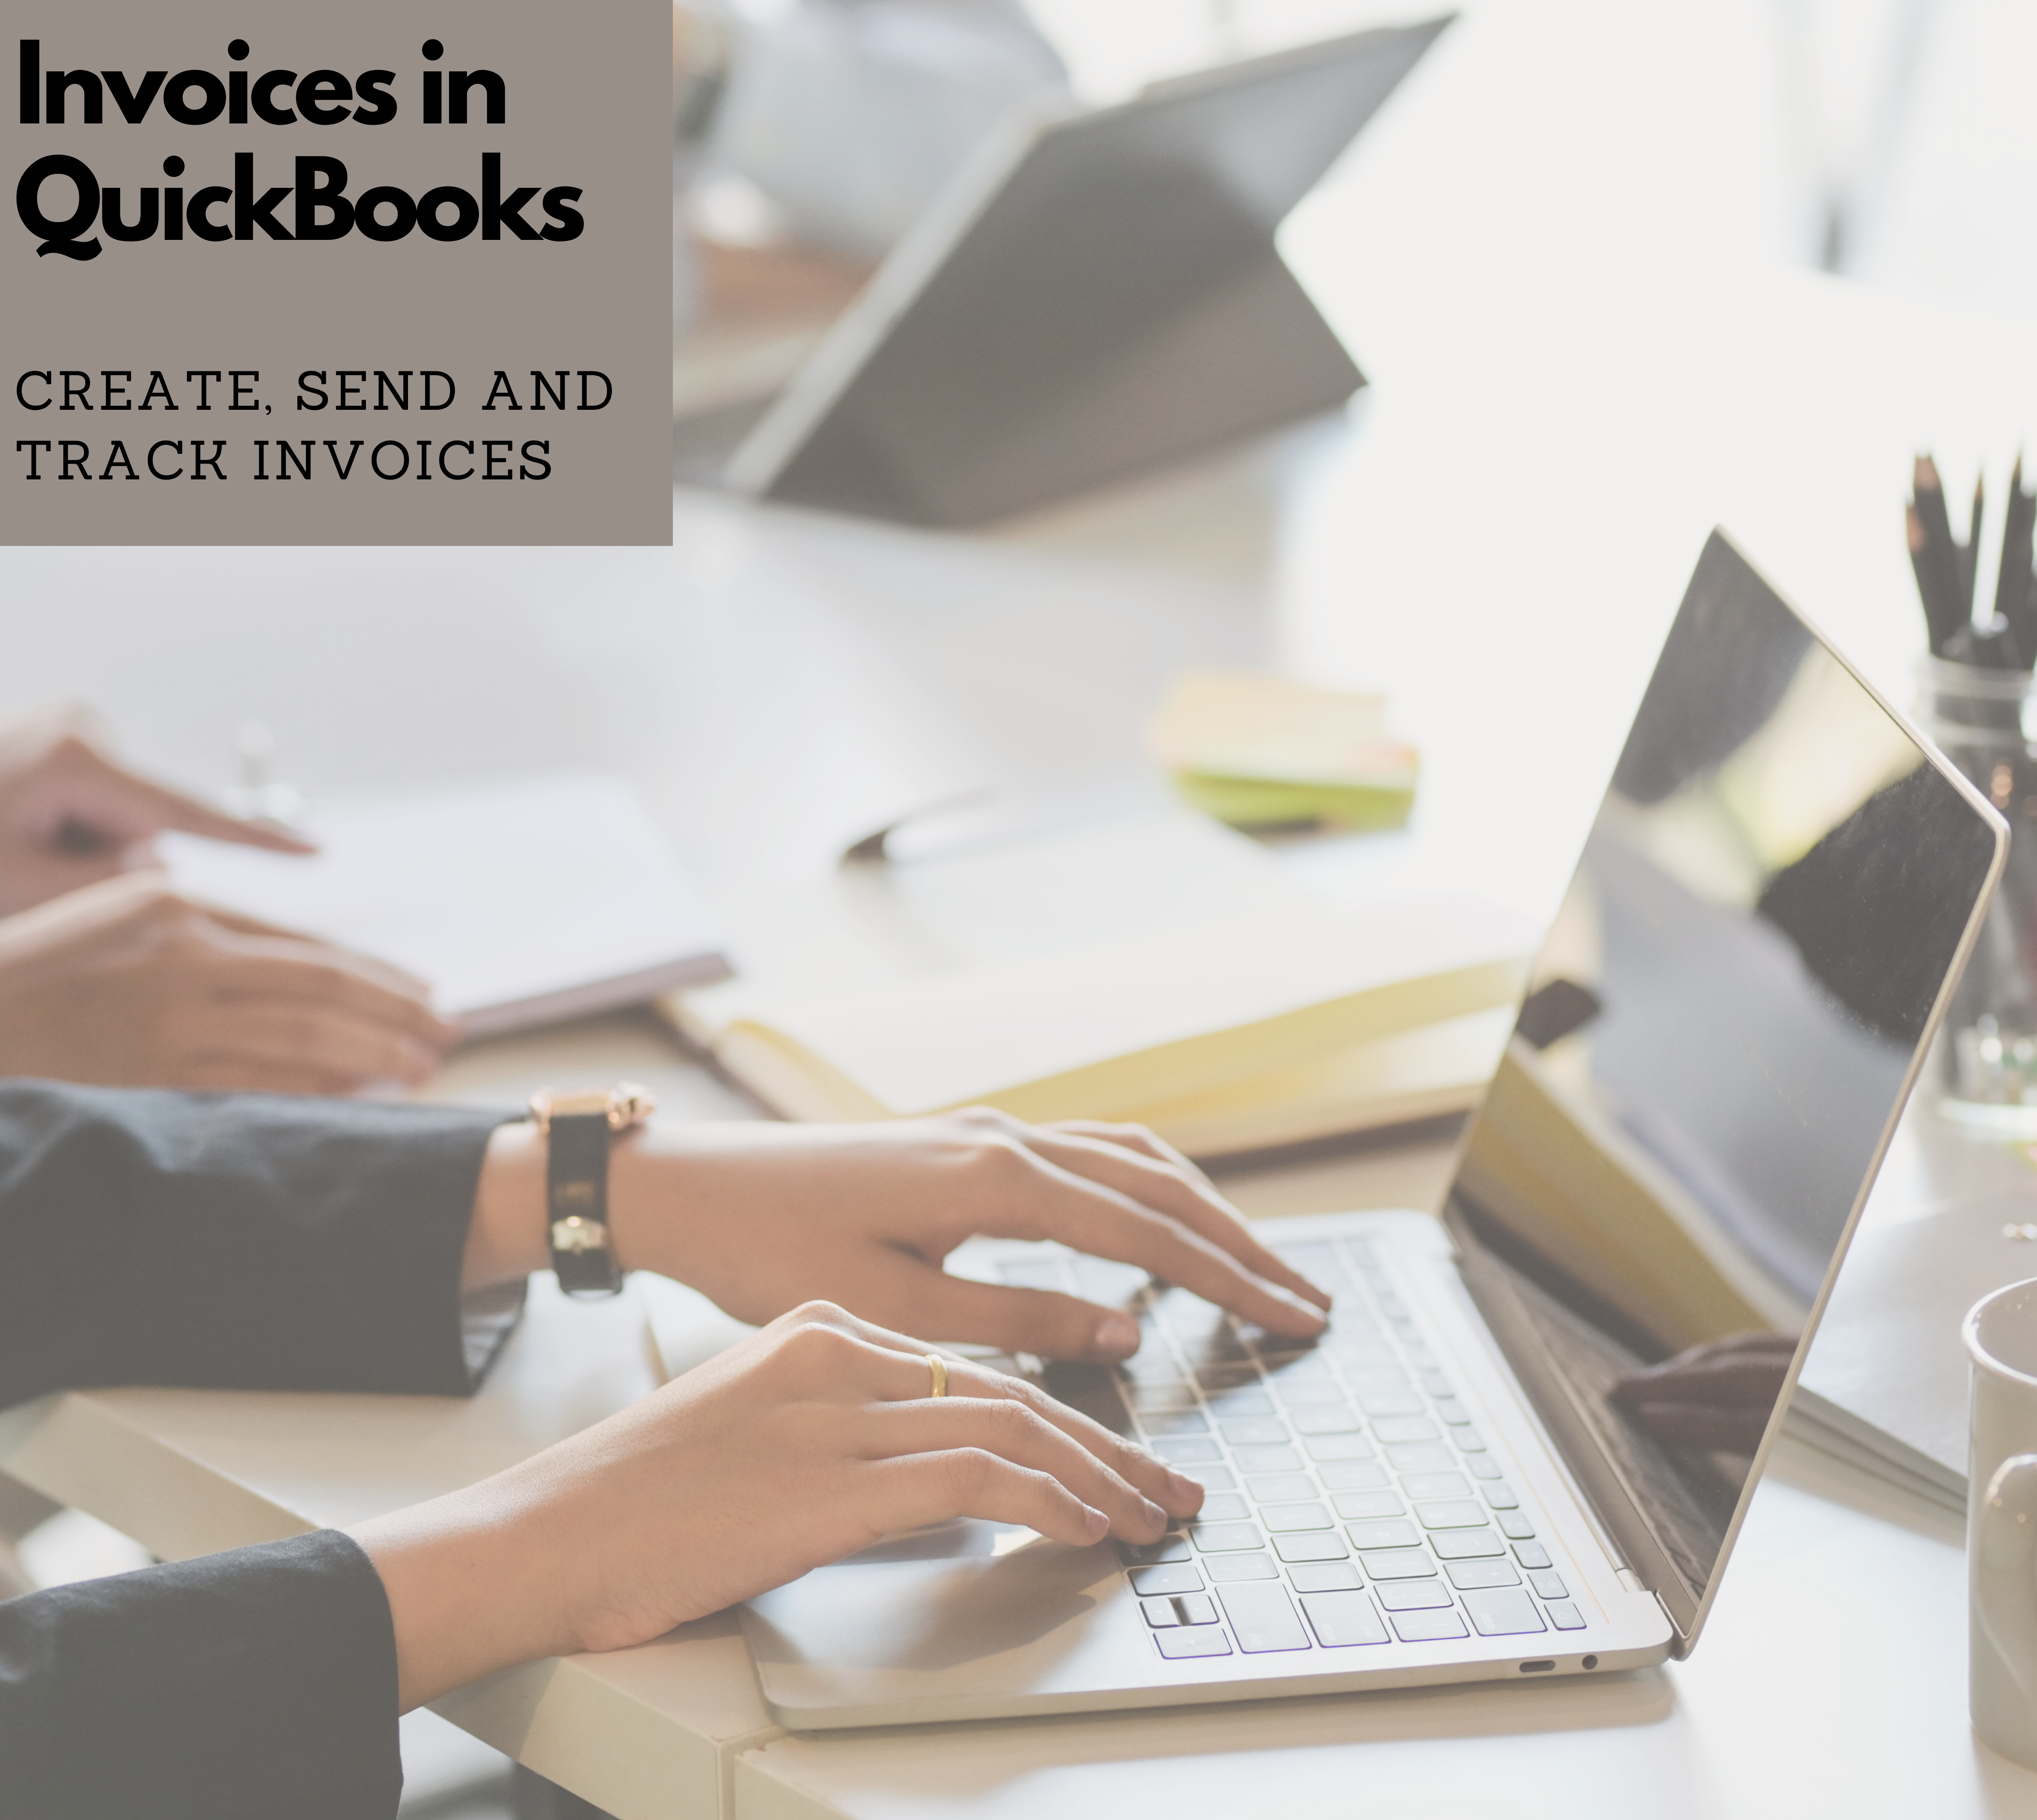
QuickBooks offers an Invoicing feature which simplify the process of creating and managing invoices for small businesses. If you’re using QuickBooks small-business software, it’s essential to understand how to generate invoices within the program. Whether you’re using QuickBooks Online or the Desktop version, both allow you to swiftly and effortlessly create invoices for your valued customers. 

Features of QuickBooks Invoicing Software?

  • Create Professional Invoices: You can easily create customized, professional invoices. Add details about the products or services you’re selling, specify payment terms, and include your branding.
  • Send Invoices Electronically: Once you’ve created an invoice, you can send email directly to your customers. QuickBooks allows you to review unpaid invoices and track their status.
  • Get Paid Faster: QuickBooks Payments integration enables you to receive payments online. Customers can pay their invoices securely using credit cards, debit cards, ach bank payments or bank transfers. In fact, businesses using QuickBooks Payments get paid four times faster than traditional paper invoicing.
  • Real-Time Tracking: Keep an eye on your invoices and payments all in one place. Whether you’re generating online invoices or accepting on-site payments, QuickBooks organizes everything for you.
  • Customization and Convenience: QuickBooks Online Invoicing lets you create invoices in multiple languages and currencies. Also, you can access your account from any device using the mobile app.

Components of QuickBooks Invoicing Software

When creating invoices using QuickBooks, it’s important to include the following five components:

  1. Invoice Number: Assign a unique identifier to each invoice. This helps in tracking and organizing your financial records.
  2. Date: Mention the date when the invoice is issued. It ensures clarity regarding the timing of the transaction.
  3. Business Contact Information: Include your business details, such as your company name, address, phone number, and email. This information helps your clients reach out if they have any queries.
  4. Descriptions of Goods and Services: Clearly specify the products or services provided. Include item names, quantities, unit prices, and any applicable taxes.
  5. Payment Terms: Define the payment terms, such as due date, accepted payment methods, and any late fees. Clarity on payment expectations ensures smooth transactions.

Benefits of QuickBooks Invoicing

QuickBooks Invoicing offers several benefits that enhance your business efficiency and financial management:

  • Effortless Invoice Creation: QuickBooks invoice has a user-friendly interface that allows you to tailor your invoices, ensuring they look professional and unique. You can upload your logo, adjust font colors and styles, and even include a personalized message.
  • Efficient Invoice Tracking: You can effortlessly monitor all your invoices and customer payments. When you generate an invoice, your financial records reflect both the income from the sale and the outstanding amount owed by the customer. QuickBooks Online also provides tools to streamline payment collection, including built-in payment links and automated reminder emails.
  • Convenient Design Options: As your business evolves, you may need to adjust invoice formats. QuickBooks allows you to create new layouts quickly and cost-effectively. Make changes once, and they apply to all future invoices.
  • Accounting Integration: Say goodbye to manual data entry. Generate and send invoices directly from the mobile app or cloud software. Your sales information updates in real-time, and you can convert estimates to invoices seamlessly.
  • Instant Delivery: Prepare and deliver invoices within minutes. Instant delivery means faster payments: no more postal delays or lost mail. Your invoices reach clients promptly, improving cash flow. 
  • Easy Tracking: Wondering if a client has seen your invoice? QuickBooks tracks it from the moment it’s sent. You’ll know when it’s opened and even set up payment reminders. No more guesswork!
  • Faster Payments: Add a payment hyperlink to your online system. Customers click to pay their bills. Busy professionals appreciate this convenience, and you avoid waiting for checks to process.

How to Create an Invoice in QuickBooks Desktop

Create an invoice from scratch.

Here’s a concise guide on creating an invoice from scratch:

  • From the Home screen or the Customers menu, select Create Invoices.7a93d341 ce52 4b24 82dd d594717fd8ea
  • Select an existing customer or customer job from the “Customer: Job” dropdown menu.7a734bc5 e619 43fa 91a0 11c5d2cce8c9
  • Alternatively, click “Add New” if the customer is not yet in your system.
  • Enter relevant information such as the date sent, due date, invoice number, recipient details, and any terms.
  • In the detail section, select all the invoice items.
  • Click “Save & Close” to finalize your invoice.

 Note: When creating an invoice, keep in mind that the description and amount fields are automatically filled based on your settings. However, you have the flexibility to edit or remove them as necessary for each new invoice.

Create an invoice for the sales order.

You can generate an invoice from a sales order using two distinct methods in QuickBooks Desktop:

From the Sales Orders Window:

  • Open the “Sales Orders” section.8b6c95e7 290d 4c53 a33f 74aaa88fd68a
  • Click on “Create Invoice.”76555728 e00a 4863 8ee0 fceb82be7503
  • You have two options:
  1. To include all items from the sales order in the invoice, select “Create invoice for all of the sales order(s).”3517df01 52b8 42f0 88cb cc472a7b0d92
  2. If you only want specific items on the invoice, choose “Create invoice for selected items.”
  • Make any necessary adjustments to the invoice.
  • Finally, click “Save & Close.”

From the Invoice Window:

  • Navigate to the QuickBooks Home screen or the Customer menu.
  • Select Create Invoices.
  • From the Customer: Job dropdown list, choose a customer or customer job.
  • Pick one or more sales orders that contain the items you want to include in the invoice.
  • Make any required modifications to the invoice.
  • Click Save & Close.

Create an invoice from estimate.

From the Estimate Window:

  • Open the desired estimate.
  • Click on “Create Invoice” at the top of the form.
  • If progress invoicing is enabled, you’ll likely receive a prompt to fill in the items and quantities for the invoice.
  • Adjust any necessary details in the invoice.
  • Finally, click “Save & Close.”

From the Invoice Window:

  • Go to the QuickBooks “Home” screen or the “Customer” menu.
  • Select “Create Invoices.”
  • From the “Customer: Job” dropdown list, choose a customer or customer job.
  • The available “Estimates” window will appear.
  • Select the estimate you wish to include in the invoice (note that QuickBooks allows you to choose only one estimate at a time).
  • Make any required modifications to the invoice.
  • Click “Save & Close.”

How to Create an Invoice in QuickBooks Online

The procedure for generating invoices in QuickBooks Online closely mirrors the process in the desktop version:

  • Invoice Creation Options: You have two ways to create invoices: from scratch or based on an estimate. Unfortunately, QuickBooks Online does not offer a sales order feature. If you’ve prepared an estimate and your customer approves it, you can easily convert it into an invoice.
  • Entering Invoice Details: When creating an invoice, you can either enter information on the spot or utilize pre-set rates for products, services, and sales tax.
    Note: QuickBooks Online doesn’t support specific sales levy (tax) rates for individual customers. However, you can make adjustments directly on the invoice itself.
  • Efficient Emailing: QuickBooks Online allows you to email invoices directly to your customers. If you’re using QuickBooks Payments, your invoices will even include a payment link, streamlining the collection process.

Create an Invoice without an Estimate

In QuickBooks Online, you can access a blank invoice screen using either of the following methods:

From the Dashboard:

  • Click on the “+” icon at the top right corner of your screen.
  • Select “Invoice” from the Customers options on the left side of the dropdown box that appears.

From the Sales Menu:

  • Click on “Sales” and then “Invoices” on the left toolbar.699d245d 3c33 4a54 b1d6 c35a74004903

After choosing one of the above options:

  • If you select the first option, you’ll be taken directly to a blank invoice screen.
  • If you choose the second option, you’ll see a list of all your invoices.

To create a new invoice, click on the “New Invoice” button on this screen. Now, let’s create your invoice step by step:

5dbfdd7e 05a9 4d82 abe3 bbddf367fa48

Choose a Customer:

  • Select a customer from the dropdown menu.
  • Alternatively, create a new customer on the fly by choosing “Add New” from the dropdown menu.

Customer Email:

  • If there’s an email address on file for the customer, it will populate the customer email field.
  • You can also manually add an email address. Multiple email addresses can be added, separated by commas. You can also cc or bcc others on this invoice.

Send Later:

  •  Check the “send later” checkbox if you want to batch this invoice for email delivery later.

Payment Options:

  • If you have QuickBooks Payments enabled, payment options will appear here—toggle options on and off for each invoice.

Billing Address:

  • The billing address will populate based on existing information in QuickBooks Online for the customer. You can also manually enter it.

Payment Terms:

  • Select the payment terms for this invoice using the dropdown menu.

Invoice Date:

  • The invoice date defaults to the current date, but you can adjust it if needed.

Due Date:

  • The due date is based on the invoice terms. You can also manually adjust it.

Choose Your Template:

  • The template you select for your invoice determines the custom fields that appear. To switch templates, click on the “Customize” link at the bottom of the screen.

Product/Service Field (Similar to QuickBooks Desktop):

  •  Populate this field with items you’ve already created or create new products/services on the spot.
  • The description will auto-fill based on the product/service, but you can customize it further.

Quantity (Qty) Field:

  • Enter the number of items or hours associated with the product/service.

Rate Field:

  • The rate is based on your previous entries in QuickBooks Online, but you can manually adjust it if needed.

Amount Field:

  • Automatically calculated by multiplying the rate by the quantity.
  • You can also adjust it manually; changing the total amount will adjust the rate accordingly.

Tax Checkbox:

  • Check the box in the “Tax” column to indicate taxable items.
  • If unchecked, no sales tax will be calculated for that line.

Adding More Lines:

  • If your invoice runs out of space, click the “add lines” button to include additional items.
  • You can also clear lines (with caution) and add subtotals to organize different sections.

Custom Messages:

  • Like in QuickBooks Desktop, manually add messages to the invoice or statement.

Discounts and Tax Calculation:

  • Pay attention here! The circle with two arrows toggles whether discounts apply before or after-tax calculation.
  • Adjust the calculation based on your understanding of sales tax laws for your customer.

Sales Tax Rate Selection:

  • Choose the appropriate sales tax rate for your invoice.
  • Alternatively, select “add new” to create a new sales tax rate instantly.
  • Manually calculate the sales tax due and input it in the box next to the sales tax dropdown.

Discount Application:

  • If you’re applying a discount to the invoice, Choose either a discounted percentage or a flat dollar amount.

Attachments:

  • Add attachments to the invoice:
  • Drag and drop files into the designated area.
  • Alternatively, click the icon and browse for attachments.
  • To send the attachment with the invoice, select the checkbox next to the file name after uploading.

Abandoning the Invoice:

  • If you wish to discard the invoice without saving:

1)    Click the “cancel” button at the bottom left of your screen.

2)    Unlike the desktop version, this option is thoughtfully placed away from the save options.

Preview and Recurring Invoices:

  • Click the link at the bottom center of your screen.
  • Set up a recurring invoice:
  • Click “make recurring.”
  • Remember to save your invoice before proceeding.

Frequent Saving:

  • The save button is located at the bottom right of your screen.
  • This prevents data loss due to internet connection issues or automatic logouts.

Finalize and Save:

  •  Click the dropdown arrow next to the “save and send” button.
  • Choose from save options, including save and close, save and send, save and new, and save and share.

Create Invoice from Estimate

Here’s a step-by-step guide on how to create an invoice from an estimate using the QuickBooks Online billing feature:

Start from the Estimate:

  • If you’re utilizing progress billing, begin your invoicing process from the project estimate.
  • Hover over the “Sales” link in the left toolbar and click on “Customers.”e9ce4e7a 1f89 4c0d a8b1 1fcd82b0f35c

Select the Customer:

  • On the next screen:
  • Either click on the customer’s name from the list.
  • Or use the “Find” box to search for the customer.669b885e dfbe 4a5c 84ba 96a1669c22df

Locate the Estimate:

  • Find the specific estimate you want to use for creating the invoice.
  • Click on the “Create invoice” link in the Action column.b5c3d662 8cdd 4a47 8fd2 1c39138f9d3d

Invoice Screen with Estimate Details:

  • The invoice screen will open, pre-populated with the estimate details.
  • Choose whether to create an invoice for a percentage or a specific quantity of the overall estimate If you’re using progress invoicing.

How to Send Invoice in QuickBooks Online

  • When you’re satisfied with your invoice and plan to send it later, click the Save button located on the lower right side of the screen.
  • If you’d like to preview or print the invoice before saving or sending it, click the Print or Preview button on the bottom menu bar of the invoice screen.
  • Then, select the appropriate option from the dropdown menu.
  • Clicking Print or Preview will display how your invoice looks.
  • If you’re ready to send it immediately, proceed to the next step.
  • To send the invoice right away, click Save & Send.
  • QuickBooks will automatically create an email based on the default settings you’ve configured.
  • If desired, you can customize the default email message specifically for this invoice.
  • Finally, click the green Send and Close button when you’re prepared to dispatch the email.
  • You’ll receive a notification confirming that the invoice has been successfully emailed to your customer.

Review Unpaid Invoices in QuickBooks

You can track invoices which are unpaid in the accounts receivable account. You will find this account listed on the balance sheet and other financial reports. If you want to review your review invoices, go to Sales and select Invoices. Check the Status column to track where your invoices stand in the sales process.

Here are the common invoice statuses that you might encounter:

  1. Due in (Days): The Invoice still needs to be emailed.
  2. Due in (Days) sent: The Invoice is sent to the customer.
  3. Due (Days) Viewed: The customer has opened the invoice.
  4. Deposited: The customer has paid the invoice.
  5. Overdue (Days): The invoice is past due and unpaid.
  6. Overdue (Days) viewed: The customer viewed the invoice but didn’t clear the past-due invoice.
  7. Delivery Issues: The invoice was not delivered. Please check the email address and send it again.
  8. Voided: The invoice was canceled in QuickBooks.

How To Convert Estimate to an Invoice in QuickBooks Online

By converting estimates to invoices, you link them together, ensuring accurate bookkeeping. QuickBooks automatically populate the invoice with information from the estimate, saving you time and effort. Whether you’re using the new or old estimates and invoices layout, QuickBooks streamlines the process for efficient invoicing. To convert an estimate to an invoice in QuickBooks Online, follow these steps:

1.   Navigate to Sales:

  • Go to the Sales section in QuickBooks Online.

2.   Locate the Estimate:

  • Find the estimate you want to convert.

3.   Update Status (if needed):

  • If the status column displays Rejected, update the status to either Pending or Accepted.

4.   Convert to Invoice:

  • In the Action column, select Convert to Invoice.
  • Make any necessary updates to the invoice.
  • Then select Save.

Final Words

QuickBooks invoicing is the process of creating and managing invoices using the QuickBooks accounting software. It allows businesses and individuals to generate professional invoices for products or services provided to clients or customers.

 Users can create customized invoices with details such as item descriptions, quantities, prices, and tax information. QuickBooks provides invoice template to ensure a consistent and professional look for your invoices.

 If you still have any queries regarding QuickBooks or invoicing in QuickBooks, feel free to contact us at xxxxxxx or email us at xxxxxxxx.

By : December 26, 2023
Comments Off on Create and Send Invoices in QuickBooks: A Complete Guide

Related Posts

Raise your Query

Local Bookkeeping Services In USA

Get the latest updates on accounting and bookkeeping topics

© 2023 Better Books Financials Inc, 3625 SR 419, STE 250, Winter Springs, Florida, 32708, United States

Disclaimer: The Intuit® logo, Intuit®, QuickBooks®, and ProAdvisor are registered logos, trademarks, and brand names of Intuit Inc. eBetterBooks is a Certified QuickBooks® ProAdvisor for certain Intuit® products, as per Intuit®’s terms. eBetterBooks is not affiliated with or endorsed by Intuit or QuickBooks; we are third-party independent service providers for accounting software & accounting services.