Excerpt:
Recording prepaid expenses in QuickBooks helps businesses manage advance payments, ensuring accurate financial statements. By categorizing prepaid expenses as assets, businesses can allocate costs over time, avoid financial disruptions, and benefit from potential tax deductions. Proper tracking of these expenses also supports efficient cash flow management and long-term financial planning, making it easier for businesses to maintain clear and compliant records.
Recording of prepaid expenses in QuickBooks helps small businesses to figure out the expenses of an accounting period and maintain the financial records.
Prepaid expenses is the amount paid in advance for the services/ products yet to be received by the business. Recording prepaid expenses in QuickBooks involves tracking advance payments made for services or products that will be received in the future.
Prepaid expenses are marked as “assets” in the company’s balance sheet as they have future value.
Examples of prepaid expenses
In QuickBooks, prepaid expenses are payments made in advance for services or goods to be received in the future. They are recorded as assets on the balance sheet and gradually expensed over time as the benefits are realized. This ensures accurate expense matching and financial reporting.
Prepaid expenses are important to record in accounting because it helps businesses to manage their finances and have accurate financial statements.
Benefits of recording prepaid expenses in QuickBooks
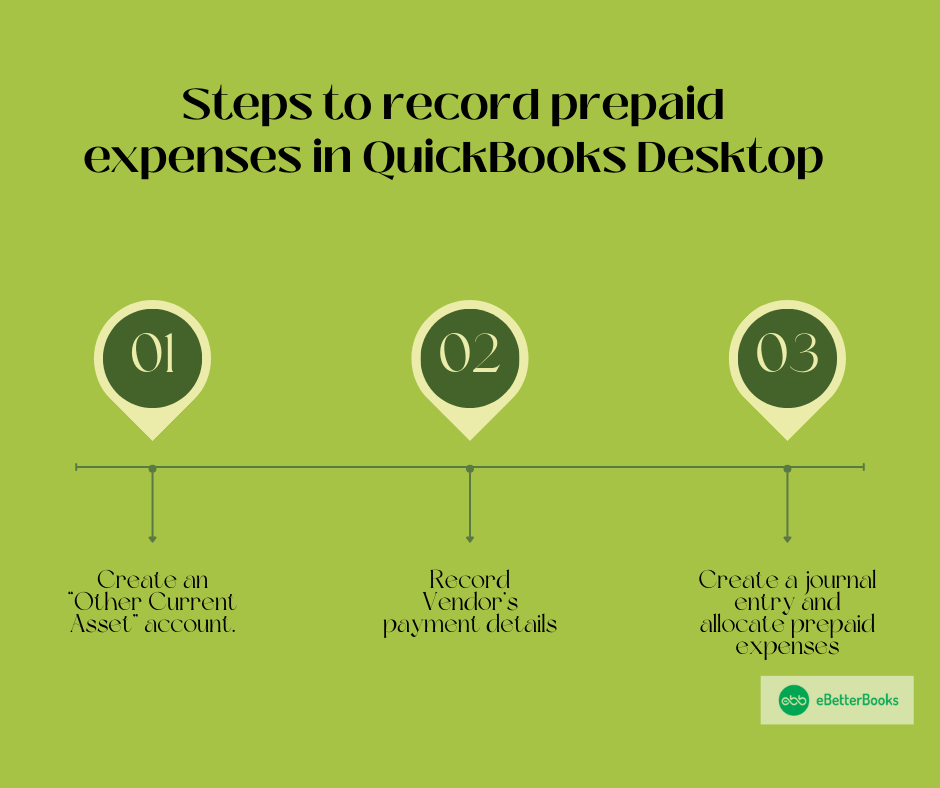
Follow these steps if you have a customer who wants to spread the expense of an item paid in a single amount (i.e. insurance premiums, Yellow Page bill, etc.) over a period of several months in order to allocate expenses to the appropriate month.
Step 1: Create an account to track the prepaid expenses. This is an Other Current Asset account.
Step 2: Enter payment to the vendor using the account created earlier.
Step 3: After this, create a memorized journal entry to allocate one month or quarter of the expense.
Step 4: These entries will record according to the frequency you selected, reducing the Prepaid Expenses account each period. The balance in the Prepaid Expenses account should be zero at the end of the coverage period.
Step 5: If the user has multiple prepaid expenses to track, it is recommended that they create sub-accounts of the Prepaid Expenses account in order to track each separately.
Step 1: Create an account to track the prepaid expense. This is an Other Current Asset account.
Click on the list option on the screen:
Step 2: Create a memorized journal entry to allocate one month or quarter of the expense.
Track your prepayments accurately to maintain smooth transactions and timely payments. You can record them in two ways either using Accounts Payable or using an Asset account.
Here’s how:
Write checks to your vendors and track them in Accounts Payable as money owed. This may lower your balance until you’re ready to enter the final bill and process the invoice.
Step 1: Create a check for the vendor.
Step 2: Enter the bill.
Step 3: Apply the prepayment to a bill.
Note: QuickBooks will create a Bill Payment Check if there’s a balance due on the bill.
Write checks to your vendors and track them in an Other Current Asset (OCA) account. This records prepayments for future goods or services. It also helps to increase your balance until you’re ready to pay the final bill and process the invoice.
Step 1: Create an Other Current Asset (OCA) Account to Track Prepayments.
Step 2: Write a check to your Vendor.
Step 3: Enter the bill when the items arrive.
Note: When you record the bill, it reduces the asset account to match the amount you owe after the prepayment.
Step 4: Pay the bill balance.
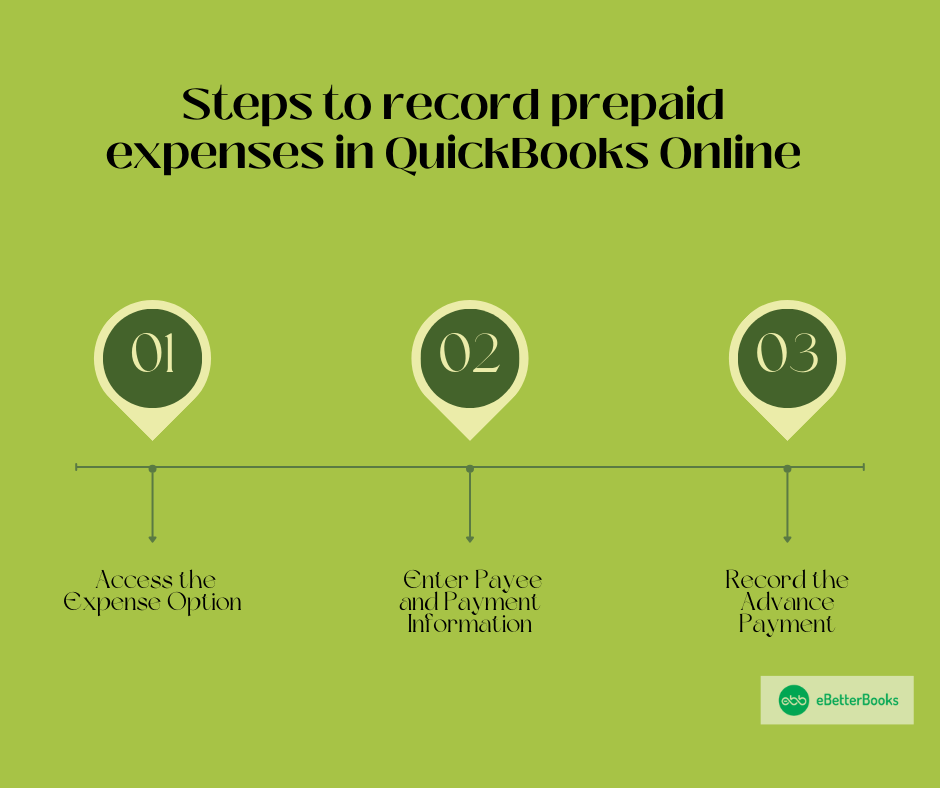
To record prepaid expenses in QuickBooks Online, access the Expense option, enter the Payee and Payment information, record the advance payment under Accounts Payable, and save the transaction.
Following the step-by-step information below:
Accessing the Expense option ensures that expenses are properly categorized and tracked, maintaining accurate financial records. Additionally, it helps manage cash flow and financial planning by distributing expenses over appropriate accounting periods.
Step 1: Open the Expense option
Entering Payee and Payment Information ensures that the transaction is linked to the correct vendor and helps in maintaining clear records for audits and future reference.
Step 1: Select the Payee and Payment account.
Recording the advance payment while recording prepaid expenses ensures that future expenses are accurately tracked and reported in the correct accounting period.
Step 1: Pick Accounts payable
Step 2: Save the transaction
To record prepaid expenses correctly in QuickBooks, you need more than just steps—you need clarity, structure, and smart workflows. This section breaks down 5 essential subtopics that help you avoid common errors, improve financial reporting, and stay audit-ready. From choosing the right QuickBooks version to setting up sub-accounts and automating journal entries, each part plays a critical role. You’ll also learn how to reconcile expenses properly, ensuring your assets and liabilities always reflect reality. These subtopics are designed to give small business users control, accuracy, and confidence in their financial data—without any unnecessary guesswork.
Categorizing prepaid expenses correctly in QuickBooks prevents 3 major accounting issues: inaccurate financial statements, overstated liabilities, and misaligned cash flow. When you list prepaid amounts under “Other Current Assets,” you avoid 2 common errors—expensing too early and missing asset classification. This also ensures 100% compliance during audits, as each transaction has proper justification. QuickBooks users often face 3 risks—wrong tax reporting, failed reconciliations, and confused budgeting—when expenses are miscategorized. By tracking these under the right account, you maintain clean ledgers, accurate period allocation, and clear audit trails. It’s not optional—it’s a strategic necessity for financial accuracy.
QuickBooks Desktop and Online handle prepaid expenses in 3 key ways: account setup, transaction entry, and automation. In Desktop, you manually create “Other Current Asset” accounts and memorize journal entries—ideal for complex, recurring allocations. Online simplifies the process with the “+New > Expense” flow, using Accounts Payable directly, but lacks advanced automation. Desktop allows for 5x more control with sub-accounts, custom reports, and batch processing. Online, in contrast, supports faster entries and mobile access, but limits memorization. Choosing the right version depends on your need for depth, speed, and customization. Understanding these 3 differences avoids tool mismatch and inefficiency.
Managing multiple prepaid expenses? Use sub-accounts to track 3 essentials: expense type, usage timeline, and vendor-specific details. In QuickBooks Desktop, create sub-accounts under “Prepaid Expenses” to separate insurance, rent, subscriptions, and more—this improves visibility by 70% during reconciliation. Sub-accounts help link each payment to its source, show exact balances, and simplify period-wise allocation. For example, Prepaid Insurance and Prepaid Rent can each follow their own amortization schedules without overlap. This approach reduces reporting errors, speeds up audits, and enhances tax planning. Without sub-accounts, you risk data clutter, misreporting, and time-consuming corrections later.
Memorized journal entries in QuickBooks help automate 3 core tasks: monthly expense allocation, asset reduction, and audit tracking. In QuickBooks Desktop, you create one entry, memorize it with Ctrl+M, and schedule it—saving hours each month. This avoids manual errors, ensures consistent timing, and keeps reports aligned. For example, a $1,200 insurance payment over 12 months becomes 12 equal $100 entries—no guesswork. You gain 3 advantages instantly: simplified accrual accounting, timely expense recognition, and zero missed periods. Without memorization, you risk uneven entries, late adjustments, and inconsistent financials. It’s a smart move for accuracy and efficiency.
Reconciling prepaid expenses with actual bills ensures 3 major outcomes: accurate expense matching, balanced asset reduction, and clean audit trails. Each time a bill is received, apply the prepayment to adjust the “Other Current Asset” account and reflect the true payable. This 1:1 matching process prevents overstatement of assets, duplicate entries, and financial discrepancies. In QuickBooks Desktop, use the Pay Bills > Set Credits feature to link payments; in Online, match via Accounts Payable. Reconciliation also highlights 3 red flags—missing bills, misapplied credits, and incorrect amounts. Done monthly, it keeps your books sharp, compliant, and audit-ready.
Beyond the basic steps, effective prepaid expense management in QuickBooks requires strategic insight. This section offers 5 practical topics that support cleaner records, stronger tax positioning, and audit-proof processes. You’ll learn how to avoid common recording mistakes, understand the tax impact of prepayments, and see how these entries shape your cash flow. We also cover reporting techniques and proven audit practices to keep your records compliant and investor-ready. These supplementary insights are designed to sharpen your accounting accuracy, improve financial visibility, and make sure your prepaid entries work for you—not against you.
Avoiding 3 frequent mistakes can protect your books: misclassifying expenses as regular costs, skipping asset creation, and forgetting to allocate monthly. When prepaid expenses are posted directly to expense accounts, it distorts profit reports and inflates deductions. Another error is not using “Other Current Asset” accounts—this hides true asset value from the balance sheet. Finally, many users forget to amortize prepaid amounts, leading to uneven financials across periods. By setting up proper accounts, using journal entries, and reviewing balances monthly, you stay compliant, accurate, and audit-ready. Fixing these later costs time, creates confusion, and invites tax scrutiny.
Prepaid expenses directly impact 3 tax-critical areas: income deferral, deduction timing, and audit transparency. When recorded properly, these payments can shift taxable income to a future period, reducing current-year tax liability. For example, prepaying $5,000 in insurance can create a planned deduction over 12 months—lowering taxable income without affecting cash flow. Categorizing them as assets ensures compliance with IRS rules, especially under accrual accounting. Ignoring this structure risks 3 penalties—overstated deductions, flagged audits, and disallowed expenses. With QuickBooks, strategic prepaid entries support smoother tax filings, reduce year-end stress, and align your business with financial best practices.
Prepaid expenses influence 3 key parts of your cash flow: operational outflows, asset movement, and future expense forecasting. When you pay upfront—say, $3,000 for annual insurance—it reduces cash immediately but doesn’t hit the P&L until recognized monthly. This shifts the transaction from an expense to an asset, altering how it shows up on reports. QuickBooks classifies this under “Operating Activities,” impacting cash flow visuals. Misreporting can lead to 3 issues: inflated costs, misaligned budgets, and faulty financial planning. By tracking prepaid expenses accurately, you ensure smoother cash projections, avoid funding gaps, and build financial clarity.
Prepaid expenses appear in 3 core reports: Vendor Balance Detail, Balance Sheet, and Custom Transaction Detail. In QuickBooks, when payments are recorded under “Other Current Assets,” they show as assets—keeping your liabilities and expense reports clean. On the Balance Sheet, each prepaid amount reflects future value, not current loss. Vendor reports help track who’s been paid in advance, preventing overpayments or missed service delivery. Without this structure, you risk 3 problems—duplicated expenses, incorrect vendor balances, and misleading financials. Accurate reporting builds trust with stakeholders, ensures transparency, and helps in managing vendor relationships efficiently.
Auditing prepaid expenses requires 3 best practices: regular reconciliation, clear documentation, and timeline-based allocation. First, review each prepaid account monthly—check if allocations match service periods and amounts. Second, maintain backup for each entry—vendor invoices, payment receipts, and service agreements—to prove legitimacy. Third, ensure journal entries reflect exact duration, e.g., divide $1,200 over 12 months at $100 each. In QuickBooks, use reports like Transaction Detail by Account to verify consistency. Ignoring audits leads to 3 risks: misstated assets, compliance violations, and failed reviews. Following these steps ensures financial clarity, strengthens internal controls, and simplifies year-end close.
By properly recording prepaid expenses, businesses can manage their finances more effectively, ensuring accurate financial statements and benefiting from potential tax deductions. This process helps distribute expenses over multiple accounting periods, preventing sudden financial impacts and allowing for better financial planning and analysis.
To record an advance payment to a vendor in QuickBooks, follow these steps:
This process will properly track and manage advance payments, ensuring they are recorded as prepaid expenses.
There are some common types of prepaid expenses, which include as follows:
Creating sub-accounts for prepaid expenses in QuickBooks enhances transaction transparency, vendor-specific tracking, and accurate expense forecasting. By isolating payments like prepaid insurance, rent, or subscriptions into individual sub-accounts, businesses can track where funds are allocated without mixing unrelated entries. This structure helps reduce reconciliation time by up to 30%, as each sub-account can be directly matched with future invoices or services. Additionally, sub-accounting enables easier audit preparation, especially when businesses manage multiple vendors or recurring services across different periods.
Not using memorized journal entries for recurring prepaid expenses can lead to missed allocations, inaccurate monthly reports, and distorted expense trends. Without automation, businesses may forget to record recurring adjustments, causing prepaid accounts to remain overstated by up to 40% over a quarter. This oversight disrupts the matching principle in accounting, which directly impacts the credibility of monthly profit & loss statements. Over time, inconsistent expense allocation can also cause compliance risks during tax filing or financial audits.
Differentiating between Accounts Payable (A/P) and Other Current Assets (OCA) is crucial for accurate financial classification, liability tracking, and cash position clarity. Recording prepayments under A/P implies the business still owes money, which can inflate liabilities by up to 25% in reports. In contrast, using an OCA account reflects the transaction as a future economic benefit, preserving the integrity of both vendor balances and the balance sheet structure. Misclassifying these accounts can also result in double expense entries, skewing profitability metrics.
Recording prepaid expenses helps stabilize cash flow by enabling predictable expense allocation, reducing large one-time hits, and smoothing financial forecasting. Instead of deducting the full amount in one month, costs are spread evenly—allowing businesses to maintain consistent margins, especially during lean revenue periods. For example, spreading a $6,000 insurance payment over 6 months can reduce monthly cash outflows by up to 83%. This method supports healthier budgeting and improves quarterly cash reserve planning.
The recommended frequency for allocating prepaid expenses in QuickBooks is monthly or quarterly, depending on the nature of the payment, to ensure timely expense recognition, accurate period matching, and clean financial statements. Monthly allocation is ideal for items like rent and subscriptions, improving tracking granularity and supporting monthly P&L consistency. Quarterly allocation suits longer-term services like insurance or retainers and reduces manual work while still maintaining compliance. Studies show businesses that allocate prepaid expenses monthly report 15–20% fewer end-of-year adjustment errors.
Incorrectly categorizing prepaid expenses can lead to overstated deductions, inaccurate net income reporting, and potential tax penalties during audits. If a prepaid item is mistakenly treated as a full-period expense rather than an asset, it could lower taxable income improperly—triggering red flags in compliance checks. For small businesses, such misclassification can inflate deductible expenses by up to 30%, leading to underpaid taxes. This not only affects current-year filings but may also distort carry-forward calculations and deferred tax reporting.
The “Set Credits” feature in QuickBooks ensures accurate application of vendor prepayments, prevents double payments, and maintains clean vendor ledgers. Without using this feature, businesses risk paying bills that have already been partially or fully covered, which can result in unreconciled overpayments up to 10% of total vendor expenses. Using “Set Credits” also improves transaction transparency, as it links the original payment directly to the corresponding bill, aiding in audit traceability and improving payables accuracy.
Recording negative values in bills against asset accounts allows businesses to offset prepayments, automate expense recognition, and reduce manual journal entries. This technique ensures that when the actual bill arrives, the prepayment is correctly applied, reducing the outstanding balance by the prepaid amount. Businesses using this method experience up to 25% faster month-end closings and significantly fewer reconciliation errors. Additionally, it enhances visibility in audit trails by clearly showing how prepaid assets convert into expenses over time.
Prepaid expenses enhance compliance by supporting accurate period-based expense recognition, verifiable asset tracking, and consistent accounting practices. During audits or due diligence, properly documented prepaid entries demonstrate adherence to accrual accounting standards, a requirement under GAAP and IFRS. Firms with structured prepaid expense systems are 32% more likely to pass audits without adjustments, as these records provide clear audit trails and validate that income and expenses are not misrepresented. This transparency is critical in investor evaluations and acquisition scenarios.
Yes, prepaid expenses can reveal vendor reliability, contract duration trends, and commitment levels by analyzing how frequently and how far in advance payments are made. Businesses that consistently prepay for services like insurance, software, or consulting often maintain contracts spanning 6 to 24 months, indicating strategic partnerships. Tracking these transactions allows companies to spot vendor concentration risks and optimize negotiation leverage. In fact, companies leveraging prepaid data have reported up to a 20% improvement in vendor contract renewals and forecasting accuracy.
Failing to reconcile prepaid expense accounts regularly can lead to overstated asset balances, missed expense recognition, and misleading financial ratios. If unused prepayments accumulate, they may inflate assets by up to 18%, skewing the business’s liquidity profile and cash flow forecasts. This can also result in delayed or duplicate expense reporting, increasing the risk of compliance issues during audits. Regular reconciliation ensures that prepaid amounts are systematically converted into expenses, preserving financial statement accuracy.
QuickBooks Online users can manage quarterly prepaid subscriptions efficiently by using recurring expense templates, automated reminders, and scheduled payments to avoid manual journal entries. By setting up automated expense entries tied to the Accounts Payable category, users can allocate costs without needing to create monthly journal adjustments. This process reduces manual workload by up to 40% per quarter, lowers the chance of entry errors, and ensures consistent periodic expense recognition. Automation also enhances cash flow visibility and supports long-term subscription tracking.
Using the “Prepaid Inventory” asset account allows businesses to monitor advance payments for incoming stock, improve supply chain timing, and strengthen vendor relations. It provides a clear view of pending inventory tied to prepaid funds, helping businesses forecast future costs with up to 95% accuracy over a 60-day period. This insight ensures production planning isn’t disrupted by untracked purchases and enables strategic cash flow allocation. Additionally, it supports better coordination with procurement teams and aids in bulk purchase decision-making.
Automating expense allocation for prepaid insurance premiums ensures monthly financial accuracy, reduces manual accounting errors, and optimizes year-end closing processes. By breaking down annual premiums into systematic monthly entries, businesses maintain consistent expense tracking and improve budget adherence. This approach can cut reconciliation time by up to 50% during closing periods, while also ensuring compliance with accrual accounting standards. Furthermore, automation provides reliable data for risk assessment and insurance performance analysis over time.
Proper recording of prepaid expenses ensures that the Profit & Loss statement reflects true operational costs, while the Balance Sheet accurately displays current asset positions. When expenses are allocated over time rather than expensed upfront, the P&L avoids sharp cost spikes, leading to more stable margins and cleaner trend analysis. Meanwhile, the Balance Sheet shows prepaid amounts as assets, which can account for 5–15% of total current assets in service-based businesses. This dual impact improves stakeholder confidence in financial health and reporting accuracy.

