To fix the QuickBooks H202 error, first ensure only the server hosts the company file by checking hosting settings, then use the QuickBooks Tool Hub to run the QuickBooks Database Server Manager.
Configure your firewall to allow QuickBooks through, edit the Windows hosts file on the workstation to include the server’s IP and name, and restart your computer, if the issue continues.
QuickBooks Error H202 occurs when a workstation fails to connect with the host server in a multi-user environment. This interruption usually results from incorrect hosting configurations, blocked network ports, or inactive QuickBooks Database Server Manager services.
The problem prevents communication between the workstation and the server that holds the company file, disrupting multi-user access.
This article explains the primary causes behind QuickBooks Error H202, focusing on issues with hosting setup, network configuration, and connectivity restrictions. You will learn how to verify server visibility, activate the Database Server Manager, adjust firewall and port settings, and confirm that hosting is properly configured.
By following the outlined solutions, you can restore seamless communication between workstations and the server, ensuring stable multi-user performance in QuickBooks.
Quick Fixes for QuickBooks Error H202
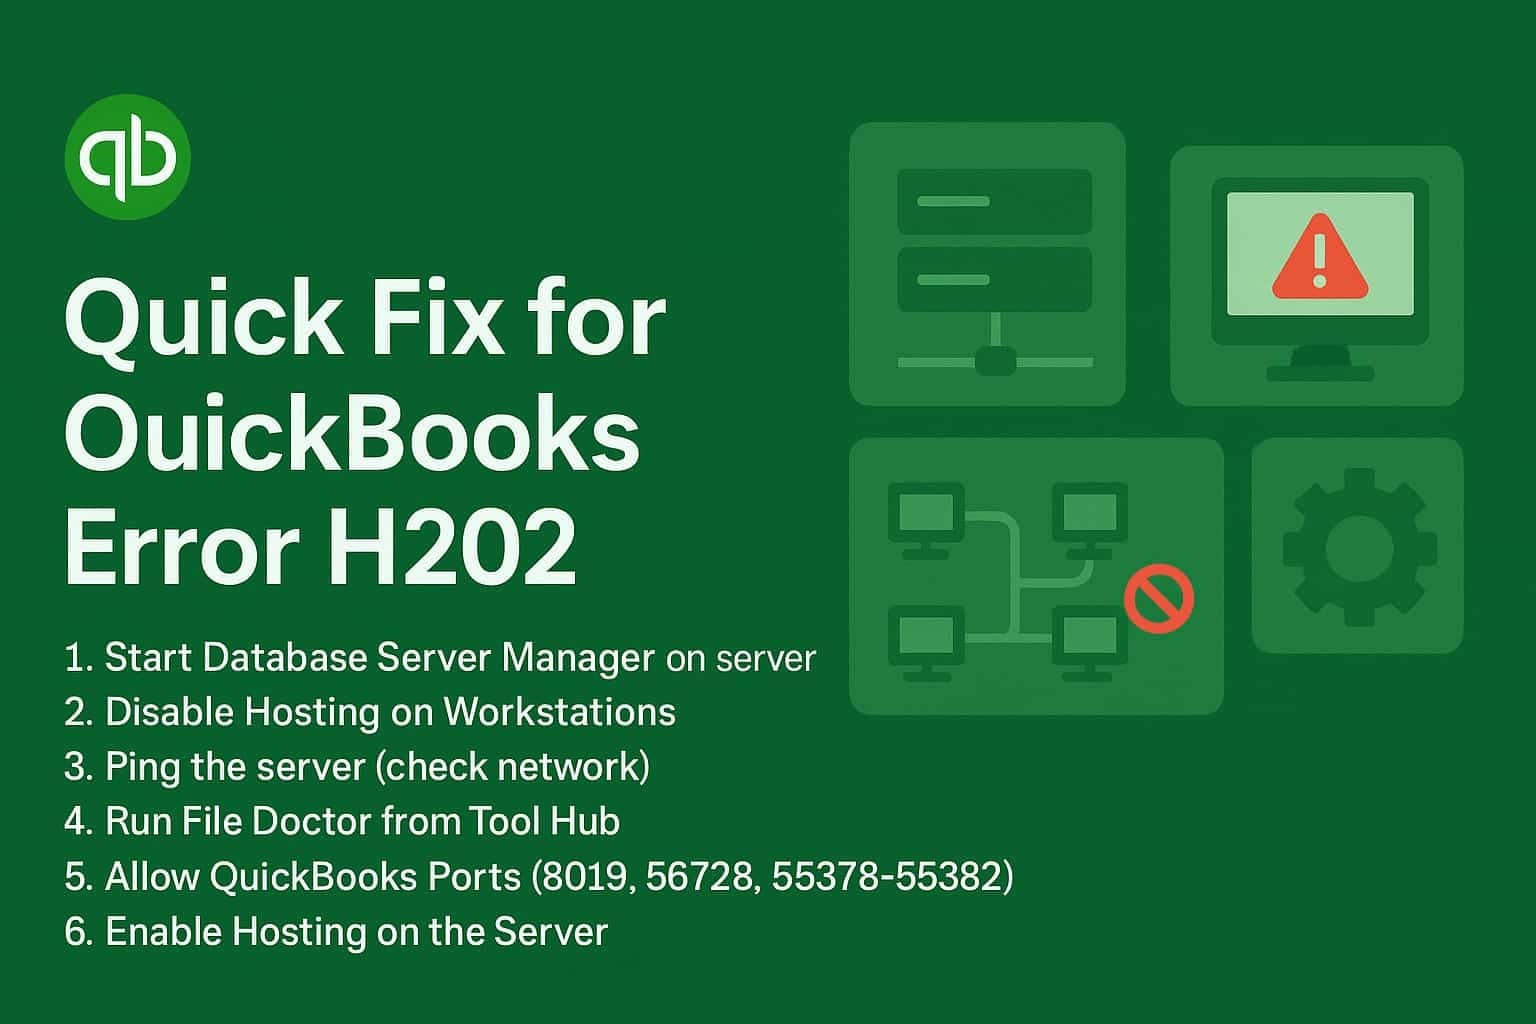
QuickBooks Error H202 occurs when the workstation cannot communicate with the server hosting the company file, disrupting multi-user mode. The following quick fixes address common causes such as network connectivity failures, hosting misconfigurations, and blocked communication ports to restore seamless access to the shared file.
- Start Database Server Manager on the server
→ Ensure QuickBooks services are running on the host machine. - Disable Hosting on Workstations
→ Only the server should host the company file, not the workstations. - Ping the server (check network)
→ Ensure the workstation can reach the server over the network. - Run File Doctor from Tool Hub
→ Automatically fixes network and file issues. - Allow QuickBooks Ports (8019, 56728, 55378-55382)
→ Open these ports in your firewall to allow communication. - Enable Hosting on the Server
→ Make sure hosting is turned on only on the server where the file is stored.
Steps to Fix Error H202 Due to the Problem with Multi-user Hosting Setup
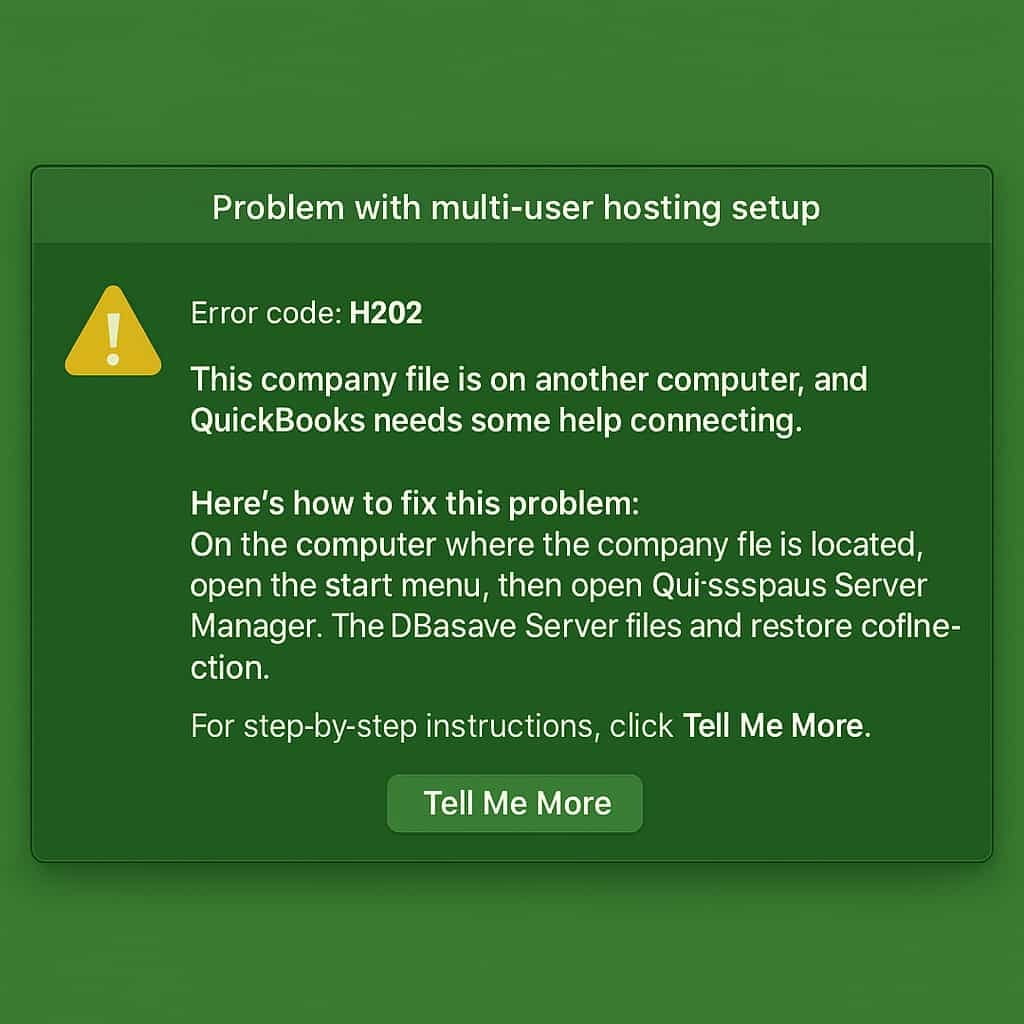
If QuickBooks Error H202 is not caused by file corruption or software bugs, but is due to misconfigured hosting and blocked connectivity. Resolving the network path and correcting the host setup eliminates the root issue. Focus on verifying service status, network permissions, and proper host identification to restore seamless access in multi-user mode. To fix this issue, follow these steps:
Method 1. Check Network Connectivity:
Verifying network connectivity helps confirm whether the workstation can successfully communicate with the host server. If the connection test fails, it indicates that the problem lies within the network setup, firewall restrictions, or server accessibility, which must be resolved before proceeding to further troubleshooting steps.
Step 1: Find the Server’s IP Address
Before you can ping the server, you need to know its IP address. Here’s how to find it:
- On the server machine, press Windows + R to open the Run dialog.
- Type cmd and press Enter to open the Command Prompt.
- In the Command Prompt window, type: (nginx, CopyEdit, ipconfig)
- Look for the IPv4 Address (e.g., 192.168.1.100) under your active network adapter. This is the server’s IP address.
Step 2: Ping the Server from Your Local Machine
Now that you have the server’s IP address, you can ping the server from your local machine to check connectivity:
- On your local machine, press Windows + R to open the Run dialog.
- Type cmd and press Enter to open the Command Prompt.
In the Command Prompt, type the following command, replacing <Server IP Address> with the server’s actual IP address: (ping <Server IP Address>)
Example: ping 192.168.1.100
Step 3: Analyze the Ping Results
After you run the ping command, you’ll see the results in the Command Prompt. Here’s what the results mean:
- Reply from <IP Address>: bytes=32 time<1ms TTL=64
This means the connection is successful, and your local machine can communicate with the server. - Request Timed Out or Destination Host Unreachable
This means there is a network issue blocking communication between the local machine and the server. It could be caused by:
- A firewall blocking the connection,
- Network configuration issues,
- Or the server is being turned off or is unreachable.
Step 4: Troubleshoot if Needed
If the ping test fails, here’s what you can do:
- Check the Firewall Settings: Ensure that firewall rules on both the server and your local machine are not blocking the connection. You may need to add an exception for QuickBooks and ensure that the necessary ports (like 8019) are open.
- Check Network Configuration: Make sure both the server and local machine are on the same network or subnet and that their IP addresses are correctly configured.
- Check Server Availability: Ensure the server is powered on and accessible on the network.
Method 2. Verify Database Server Manager on the Host:
Please ensure that QuickBooks Database Server Manager is installed and running on the host machine where the company file is stored. To do so, follow the steps below;
Step 1: Check if QuickBooks Database Server Manager is Installed
- Go to the Start Menu:
Click on the Start button on your server machine where the company file is stored. - Navigate to All Programs:
In the search bar, type “All Programs” or go to the list of installed programs. - Find QuickBooks Folder:
Look for the QuickBooks folder in the list of programs. - Locate QuickBooks Database Server Manager:
Inside the QuickBooks folder, find and click on QuickBooks Database Server Manager.
Step 2: Check if the QuickBooks Database Server Manager Service is Running
- Open QuickBooks Database Server Manager:
When you click on QuickBooks Database Server Manager, it will open a window showing the status of the service. It may show the company file location, and you will be able to see if the service is running. - Check the Service Status:
- If the service is not running, it will indicate that the service is stopped.
- If the service is running, the status will show something like “Running” or “Active”.
Step 3: Start or Restart the Service (if not running)
- Start the Service:
- If the service is not running, click on Start to initiate the Database Server Manager service. This will allow QuickBooks to manage the connection to the company file for multiple users.
- Restart the Service (if needed):
- If the service is running but issues persist, you can restart the service by clicking on the Restart button. This will refresh the service and can help resolve minor glitches.
Step 4: Verify that the Company File is Detected
- Check Company File Location:
In the QuickBooks Database Server Manager, it should display the location of the company file that is being hosted. Ensure that it correctly points to the folder where your company file is stored. - Ensure it is Added Properly:
If the company file isn’t listed, click on Add Folder and browse to the correct location where the company file is stored, then select it. This ensures the file is properly linked to the Database Server Manager.
How it Works: This step ensures that the necessary server-side services are active, allowing the workstation to access the company file.
If your host machine does not have QuickBooks Database Server Manager installed, then follow the steps below;
There Are Two Ways to Set It Up (Choose Based on Your Setup)
1. Full Program Option
- You install both QuickBooks Desktop + Database Server Manager on the server.
- Use this if someone uses QuickBooks on the same computer that also stores the company file.
2. Server Only Option
- You install only the Database Server Manager, not the full QuickBooks software.
- Use this if it’s a dedicated server that just stores the file — nobody uses QuickBooks on it.
Steps to Fix Error H202 Due to the Incorrect Hosting Configuration
If the H202 error is due to incorrect hosting configuration, it’s usually because hosting is enabled on one or more workstations instead of only on the server. Follow these steps to correct this:
Method 1. Disable Hosting on Workstations:
To prevent hosting conflicts and resolve QuickBooks Error H202, make sure only your server is set to host the company file. Each workstation (the computers used to access QuickBooks) should not be hosting. Follow these steps on every workstation:
Step 1: Open QuickBooks on the Workstation
- On the workstation where you are facing the issue, open QuickBooks Desktop.
Step 2: Go to the “File” Menu
- In QuickBooks, navigate to the File menu at the top left corner of the screen.
Step 3: Access “Utilities”
- From the File menu, select Utilities.
Step 4: Click on “Stop Hosting Multi-user Access”
- Under the Utilities menu, you will see an option labeled Stop Hosting Multi-user Access. Click on this option.
Step 5: Confirm the Action
- A confirmation message will pop up asking if you’re sure you want to disable hosting on this workstation.
- Click Yes to confirm. This action will disable multi-user hosting on the workstation.
Step 6: Close QuickBooks and Restart
- After disabling the hosting, close QuickBooks and then restart the workstation. This ensures the changes take effect properly.
Step 7: Verify Hosting Status on the Server
- After disabling hosting on the workstations, ensure that hosting is enabled on the server. The server is the only machine that should be hosting the company file in a multi-user environment.
- On the server, go to File > Utilities > Host Multi-user Access to enable hosting if it is not already enabled.
Step 8: Test the Setup
- After restarting the workstation, try accessing the company file from the workstation again. QuickBooks should now connect to the server without any conflicts, and the H202 error should be resolved.
How this fixes the error: Disabling hosting on workstations ensures that QuickBooks understands the server as the sole host, allowing the other workstations to access the file in multi-user mode.
Method 2. Enable Hosting on the Server:

To allow workstations to access the company file, make sure hosting is turned ON only on the server ( the system where your company file is stored).
Perform these actions on the computer where your QuickBooks company file is physically stored:
Step 1: Log in to the Server (Host Computer)
- On the server where the company file is stored, log in to QuickBooks Desktop as an administrator.
- This is crucial because only an administrator can enable or disable hosting features.
Step 2: Open QuickBooks Desktop
- Launch QuickBooks Desktop on the server (the machine where the company file is hosted).
- Make sure you’re running QuickBooks as an administrator to have the necessary permissions to make changes.
Step 3: Access the File Menu
- In QuickBooks Desktop, go to the File menu at the top-left corner.
Step 4: Navigate to Utilities
- In the File menu, select Utilities. This will display a list of utilities that can be accessed on the server.
Step 5: Check for Hosting Option
- Look for the option labeled “Host Multi-user Access” under Utilities:
- If you see “Host Multi-user Access”, this means hosting is currently disabled on the server. Click this option to enable hosting.
- If you see “Stop Hosting Multi-user Access”, it means that hosting is already enabled on the server. No further action is needed, and hosting is already active.
Step 6: Confirm the Action
- If you clicked “Host Multi-user Access”, a confirmation prompt will appear.
- Confirm that you want to enable multi-user access by clicking Yes. QuickBooks will then configure the necessary settings to allow multiple users to access the company file.
Step 7: Restart QuickBooks
- After enabling hosting, restart QuickBooks on the server.
- Ensure that QuickBooks is running properly after the restart and that it’s ready to be accessed by the workstations.
How this fixes the error: Enabling hosting only on the server sets up the correct environment for multi-user access, which resolves the H202 error caused by conflicting host settings.
Method 3. Verify Firewall and Permissions:

A blocked network connection can trigger the error H202, especially if your firewall or antivirus software is preventing QuickBooks services from communicating between the server and workstations. To fix this, you need to add exceptions for QuickBooks.
Perform these actions on the computer where your QuickBooks company file is physically stored:
Step 1: Open the Firewall Settings
- First, you need to access the firewall settings on the server where the company file is hosted. This can be either:
- Windows Defender Firewall (if you’re using the default Windows firewall)
- A third-party firewall software (e.g., Norton, McAfee, etc.)
To open Windows Defender Firewall:
- Press the Windows key and type “Control Panel” in the search box.
- Click on Control Panel and select System and Security.
- Select Windows Defender Firewall.
If you’re using a third-party firewall, open the software and look for firewall settings or exceptions.
Step 2: Add Inbound and Outbound Rules for QuickBooks Ports
In order to ensure that QuickBooks services can communicate between the server and the workstations, you need to allow QuickBooks to pass through the firewall by adding inbound and outbound rules for the necessary ports.
- Inbound Rules:
- Click on Advanced settings on the left sidebar of the Windows Defender Firewall screen.
- In the Windows Firewall with Advanced Security window, click on Inbound Rules.
- On the right side, click New Rule.
- Select the Port and then click Next.
- Choose TCP and type the following ports:
- QuickBooks 2021 & later: 8019
- For older versions, add the following ports as well: 56728, 55378-55382.
- Click Next, then choose Allow the connection and click Next again.
- Make sure all three options (Domain, Private, and Public) are selected.
- Give the rule a name like “QuickBooks Inbound” and click Finish.
- Outbound Rules:
- In the Windows Firewall with Advanced Security window, click on Outbound Rules.
- Click New Rule on the right side.
- Select Port and click Next.
- Choose TCP and type the same ports listed above: 8019, 56728, 55378-55382.
- Click Next, choose Allow the connection, and click Next.
- Ensure that all three options (Domain, Private, and Public) are checked.
- Name the rule “QuickBooks Outbound” and click Finish.
Step 3: Check and Adjust Antivirus Software
If you are using an antivirus program or security suite, it may also be blocking the communication needed for QuickBooks. Follow these steps to add exceptions for QuickBooks in your antivirus software:
- Open the antivirus program.
- Go to Settings or Firewall settings.
- Look for an option to add exceptions or exclusions.
- Add the following QuickBooks-related files and ports as exceptions:
- QuickBooks program files (typically found in C:\Program Files\QuickBooks or C:\Program Files (x86)\QuickBooks).
- The QuickBooks ports:
- 8019, 56728, 55378-55382.
- Save the changes and restart the system.
Step 4: Test the Connection
Once you’ve adjusted the firewall and antivirus settings, test the connection:
- Open QuickBooks on both the server and a workstation.
- Try accessing the company file from the workstation.
How this fixes the error: Proper firewall and permissions settings ensure that QuickBooks can freely communicate between the host and workstation without being blocked, resolving any connection issues that may trigger the H202 error.
By carefully following these solutions tailored to the multi-user hosting setup and incorrect hosting configuration, you can effectively fix the H202 error. Ensuring the host is correctly set up, running necessary services, and verifying the network path eliminates the root cause of the problem, restoring seamless access to your QuickBooks company file.
Conclusion
In conclusion, resolving QuickBooks Error H202 requires verifying network connectivity, correcting hosting configurations, and ensuring that essential QuickBooks services are active on the server. By implementing these quick fixes, users can re-establish stable multi-user communication and prevent future interruptions in accessing the company file.
FAQs:
What role does the Database Server Manager play in resolving the H202 error?
The Database Server Manager is crucial for allowing workstations to connect to the host server. If this service is not running, the workstation cannot access the company file. Ensure it’s installed and running on the server where the file is stored to fix the H202 error.
Why is it important to ensure that only the server hosts the company file in QuickBooks multi-user mode?
In QuickBooks multi-user mode, only the server should host the company file. If hosting is enabled on workstations, it can cause conflicts and confusion for QuickBooks, leading to Error H202. Ensuring that hosting is disabled on workstations and enabled only on the server prevents these conflicts, allowing smooth access to the company file across multiple users.
How can I verify network connectivity to solve the H202 error?
To check network connectivity, use the ping command from the workstation to the host server. This will verify if the workstation can reach the server over the network. If the ping fails, it indicates a network issue that must be resolved to fix the H202 error.
How can firewall and antivirus settings trigger QuickBooks Error H202?
Firewalls or antivirus software blocking the necessary QuickBooks ports (such as 8019, 56728, and 55378-55382) can cause H202 error by preventing communication between the workstation and the server. To fix this, you must configure your firewall and antivirus software to allow QuickBooks ports for both inbound and outbound traffic.
