Managing the end-of-life process for a QuickBooks account or subscription requires understanding crucial differences between the product versions and strict adherence to data security best practices. Deleting an account in QuickBooks Desktop (QBD) involves a more permanent removal from the Chart of Accounts, which necessitates manually ensuring a zero balance and creating a comprehensive data backup prior to execution. Conversely, canceling a paid QuickBooks Online (QBO) subscription or deleting an account typically results in the data being made inactive and retained by Intuit for up to one year (12 months) with read-only access, ensuring historical transaction integrity. It is paramount for users to export essential financial reports, including the General Ledger and Balance Sheet, before cancellation. Users must also recognize that initiating a full data deletion through the Intuit Privacy Center will permanently sever access to all linked Intuit services, including TurboTax and Mint, as it applies to the entire Intuit ID.
Highlights (Key Facts & Solutions)
- Data Preservation & Retention: Canceling a paid QBO subscription grants read-only access to company data for 1 year (90 days for expired trials), after which data may be permanently purged.
- Deletion Method Difference: QBO primarily uses “Make inactive” to preserve historical transactions, while QBD’s “Delete Account” is more permanent, requiring the account to be unused and without subaccounts.
- Account Balance Rule: QBO automatically creates an adjustment entry to the Opening Balance Equity account to zero out a balance sheet account that is made inactive; QBD requires the balance to be manually cleared beforehand.
- Essential Backup: Key reports like the General Ledger, Profit and Loss, and Balance Sheet must be exported prior to cancellation to ensure retention for audit and tax purposes.
- Intuit ID Impact: Canceling a QuickBooks subscription alone does not affect your Intuit ID used for other products, but a formal Privacy/GDPR deletion request permanently deletes the entire Intuit ID and all associated product access, including TurboTax and Mint.
- QBD Limitation: QuickBooks Desktop does not support batch deletion for Chart of Accounts entries; individual deletion is required as an accounting control.
Common Reasons to Delete Accounts in QuickBooks
- To clear old or unused accounts that are outdated and clutter up the Chart of Accounts.
- Consolidate several accounts into a single account to streamline the record-keeping
- To rectify any errors in account names or types
How to Delete Account in QuickBooks Desktop
If you notice any differences in the process of deleting an account in QuickBooks Desktop and QuickBooks Online, that will be because of some distinct features and interfaces in each version of QuickBooks Desktop. One of the main differences between the product versions is the specific location of the delete account option.
| Note: You will notice that all the transactions related to a QuickBooks account will be removed once an account is deleted. Make sure to have a proper backup of the data before initiating the process. |
Delete QuickBooks Desktop Account For Windows
Follow the steps mentioned below to delete QuickBooks account accurately:
- Open QuickBooks Desktop.
- Go to Menu Bar and select Lists.
- Select Chart of Accounts from the drop-down menu.
- Scroll through the list to find the account you want to delete from the Chart of Accounts Or
- Use the Search Bar at the top to quickly select the account. (Make sure there are no associated transactions or balances with the account you are deleting because the deletion process will affect your financial records.)
- Right-click on the selected Account.
- Choose Delete Account.
- Click OK to confirm the deletion.
| Note: QuickBooks Desktop does not support multiple deletion of accounts. You need to select each account one at a time and repeat the deletion process. |
Delete QuickBooks Desktop Account For Mac
Follow these steps to delete QuickBooks account on Mac:
- Go to the Lists.
- Choose Chart of Accounts.
- Right-click on the account you want to delete.
- Go to the Edit menu.
- Choose Delete Account.
- Click OK to confirm the deletion.
How to Delete Account in QuickBooks Online

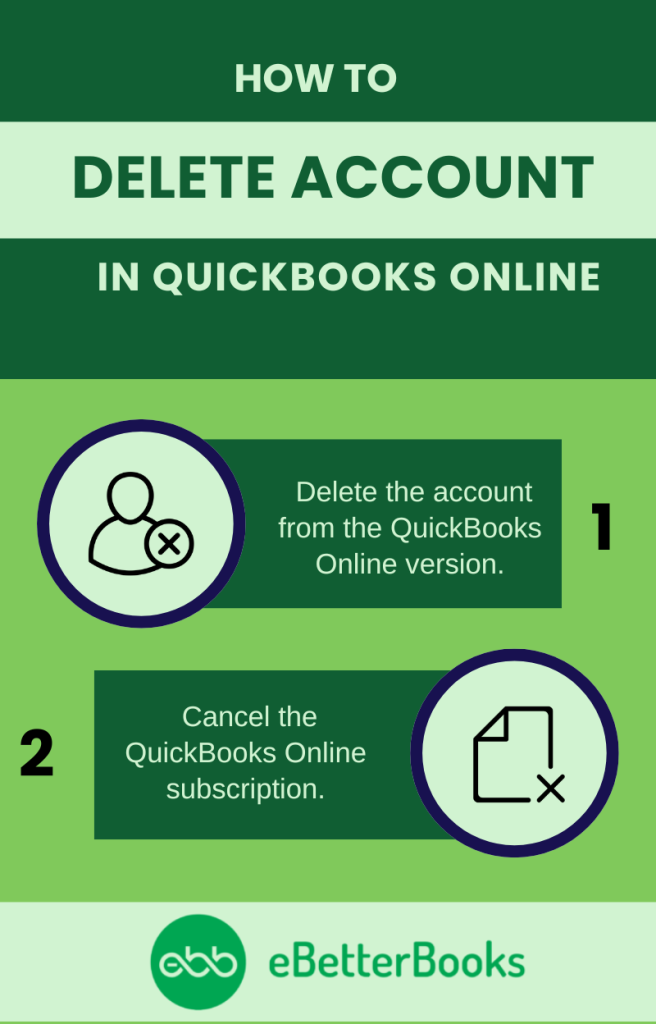
There are two common ways to delete the account in QuickBooks Online:
- You can directly delete the account from the QuickBooks Online version.
- You can cancel the subscription.
Account data is used to maintain an accurate Chart of Accounts, which ensures that your financial reports remain clear and organized. However, when you delete an account in QuickBooks Online, it becomes inactive, but the historical transaction data linked to that account is not removed.
Delete Online QB Accounting Version
Follow these steps to delete/remove your QuickBooks Online account:
- Go to the Gear icon at the top.
- Select the account you want to delete.
- Select the drop-down option.
- Click the Delete option.
- Click Yes to confirm the action.
Cancel QuickBooks Online Account
Follow these steps to cancel your QuickBooks Online account subscription:
- Sign in to QuickBooks Online as an admin user.
- Go to Settings.
- Go to Accounts and Settings.
- Choose the Billing and Subscription tab.
- Select Cancel Subscription or Cancel Your Trail in the QuickBooks section.
- Select Continue to Cancel.
- Select Submit and Cancel Subscriptions.
- Click Got It.
Points to Consider Before Deleting QuickBooks Account

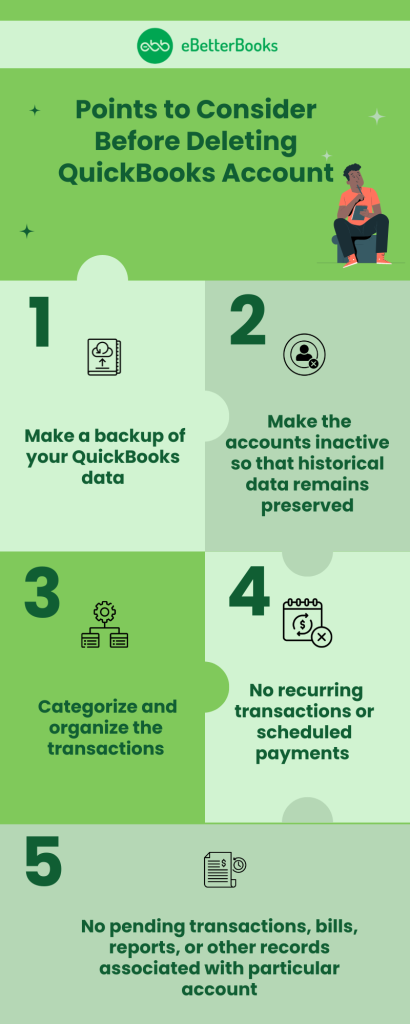
You need to take care of this important information before starting with the process of deleting your QuickBooks account:
- Always make a backup of your QuickBooks data.
- Before deleting an account, check if it is associated with any pending transactions, bills, reports, or other records. Deleting accounts linked to historical financial data may result in errors or inaccuracies.
- Make the accounts inactive so that historical data remains preserved.
- There should be no recurring transactions or scheduled payments linked to the particular account that you want to delete.
- Make sure that transactions are categorized and organized accordingly.
Conclusion
The process of deleting a QuickBooks account may vary depending on whether you are using QuickBooks Desktop or QuickBooks online. QuickBooks Online allows the deletion of QuickBooks accounts through its cloud interface. On the other hand, QuickBooks Desktop needs manual steps involved in it’s locally stored software.
Irrespective of the version, a user must take care of several considerations, such as creating a backup of QuickBooks data, an association of pending records, and recurring transactions or scheduled payments related to QuickBooks account, before proceeding to delete QuickBooks account.
FAQ
-
What is the fundamental difference between deleting an account in QuickBooks Desktop (QBD) versus QuickBooks Online (QBO)?
The key difference lies in data preservation and finality.
In QuickBooks Online (QBO), the primary action is “Make inactive,” which hides the account from new transactions but ensures that all historical transaction data remains intact for reporting accuracy and audit purposes. An account cannot be permanently deleted in QBO unless it has no transactions or is merged.
In QuickBooks Desktop (QBD), the “Delete Account” option can be executed if the account is unused and has no subaccounts. If an account with transactions is deleted, the transactions may remain, but their classification is removed, often requiring manual cleanup or causing report distortion.
-
Will canceling my QuickBooks Online subscription immediately delete all my company financial data?
No, canceling your subscription does not result in immediate data deletion.
1. If you had a paid subscription, Intuit typically retains your data for one year (12 months) from the date of cancellation. During this period, you have read-only access to view and export your historical information.
2. If you cancel during a free trial or if the trial expires, your data is typically available for 90 days.
3. It is crucial to export or print your data before the read-only period expires, as data is no longer guaranteed after the retention window. -
Can I delete a balance sheet account (like a Bank Account) from my Chart of Accounts if it still has a balance?
No, you generally cannot delete an account with a non-zero balance, as it would violate fundamental double-entry accounting rules.
In QuickBooks Online, if you attempt to make an account with a balance inactive, QBO will automatically create an adjustment entry to zero out the balance. This entry is posted to the Opening Balance Equity account, which could affect your financial reports and potentially your tax filing basis.
In QuickBooks Desktop, you must manually zero out the balance, often through a journal entry or by linking it to another account, before the system will allow you to delete it.
-
What are the essential reports I must back up or export before I cancel my QuickBooks subscription?
To ensure you have a complete record for tax, compliance, and audit purposes, accounting professionals recommend exporting the following key reports and data lists to a secure, permanent format (like PDF and Excel):
1. General Ledger (GL): The most comprehensive report of all transactions.
2. Profit and Loss (P&L) Statement (for all years).
3. Balance Sheet (as of the last day of business).
4. Trial Balance.
5. Lists: Full Customer and Vendor Lists.
6. Attachments: If you use the receipt capture feature, export all attachments in a batch. -
No, deleting an account from the Chart of Accounts does not delete the entire invoice or bill.
1. The deletion primarily removes the classification link used in that transaction (e.g., the specific Income Account on an invoice).
2. If the transaction remains, the value associated with the deleted account may be automatically moved to a general or uncategorized account, which can severely compromise the accuracy of your historical reports.
3. For a clean deletion in QBD, the system requires the account not to be used in any transactions and to have no subaccounts. -
Is there a way to batch delete multiple accounts from the Chart of Accounts in QuickBooks Desktop?
No, there is no native feature to batch delete accounts from the Chart of Accounts in any version of QuickBooks Desktop (Pro, Premier, or Enterprise).
The software requires individual deletion to ensure that the user confirms all necessary prerequisites (no balance, no linked transactions, no subaccounts) have been met for that specific account.
Note: QuickBooks Desktop Accountant edition does offer a Batch Delete/Void Transactions utility, but this is only for transactions (invoices, checks, bills)—not for Chart of Accounts entries.
-
Does deleting my QuickBooks account (Online or Desktop) affect my separate Intuit Account used for TurboTax or Mint?
It depends on the method of deletion:
Canceling a Subscription/Inactivating a File: This action only removes your access to the QuickBooks data file/service. Your main Intuit ID remains active for other products like TurboTax and Mint.
Submitting a GDPR/Privacy Deletion Request: If you formally request the deletion of your personal data through the Intuit Privacy Center (often called a GDPR or similar request), this will permanently delete all data linked to your Intuit ID, resulting in the permanent loss of access to all associated Intuit products, including QuickBooks, TurboTax, and Mint. This is a complete deletion of your entire Intuit ecosystem.
Disclaimer: The information outlined above for “How to Delete QuickBooks Desktop & Online Account? – Step by Step Process” is applicable to all supported versions, including QuickBooks Desktop Pro, Premier, Accountant, and Enterprise. It is designed to work with operating systems such as Windows 7, 10, and 11, as well as macOS.
