Managing the end-of-life process for a QuickBooks account or subscription requires understanding crucial differences between the product versions and strict adherence to data security best practices. Deleting an account in QuickBooks Desktop (QBD) involves a more permanent removal from the Chart of Accounts, which necessitates manually ensuring a zero balance and creating a comprehensive data backup prior to execution. Conversely, canceling a paid QuickBooks Online (QBO) subscription or deleting an account typically results in the data being made inactive and retained by Intuit for up to one year (12 months) with read-only access, ensuring historical transaction integrity. It is paramount for users to export essential financial reports, including the General Ledger and Balance Sheet, before cancellation. Users must also recognize that initiating a full data deletion through the Intuit Privacy Center will permanently sever access to all linked Intuit services, including TurboTax and Mint, as it applies to the entire Intuit ID.
Common Reasons to Delete Accounts in QuickBooks
- To clear old or unused accounts that are outdated and clutter up the Chart of Accounts.
- Consolidate several accounts into a single account to streamline the record-keeping
- To rectify any errors in account names or types
How to Delete Account in QuickBooks Desktop
If you notice any differences in the process of deleting an account in QuickBooks Desktop and QuickBooks Online, that will be because of some distinct features and interfaces in each version of QuickBooks Desktop. One of the main differences between the product versions is the specific location of the delete account option.
| Note: You will notice that all the transactions related to a QuickBooks account will be removed once an account is deleted. Make sure to have a proper backup of the data before initiating the process. |
Delete QuickBooks Desktop Account For Windows
Follow the steps mentioned below to delete QuickBooks account accurately:
- Open QuickBooks Desktop.
- Go to Menu Bar and select Lists.
- Select Chart of Accounts from the drop-down menu.
- Scroll through the list to find the account you want to delete from the Chart of Accounts Or
- Use the Search Bar at the top to quickly select the account. (Make sure there are no associated transactions or balances with the account you are deleting because the deletion process will affect your financial records.)
- Right-click on the selected Account.
- Choose Delete Account.
- Click OK to confirm the deletion.
| Note: QuickBooks Desktop does not support multiple deletion of accounts. You need to select each account one at a time and repeat the deletion process. |
Delete QuickBooks Desktop Account For Mac
Follow these steps to delete QuickBooks account on Mac:
- Go to the Lists.
- Choose Chart of Accounts.
- Right-click on the account you want to delete.
- Go to the Edit menu.
- Choose Delete Account.
- Click OK to confirm the deletion.
How to Delete Account in QuickBooks Online

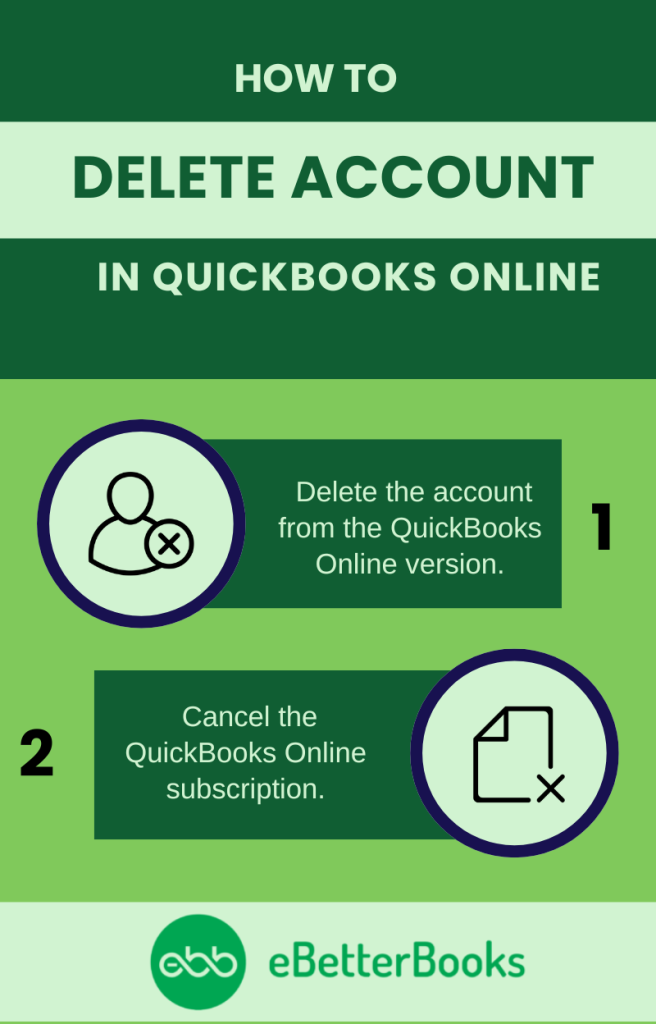
There are two common ways to delete the account in QuickBooks Online:
- You can directly delete the account from the QuickBooks Online version.
- You can cancel the subscription.
Account data is used to maintain an accurate Chart of Accounts, which ensures that your financial reports remain clear and organized. However, when you delete an account in QuickBooks Online, it becomes inactive, but the historical transaction data linked to that account is not removed.
Delete Online QB Accounting Version
Follow these steps to delete/remove your QuickBooks Online account:
- Go to the Gear icon at the top.
- Select the account you want to delete.
- Select the drop-down option.
- Click the Delete option.
- Click Yes to confirm the action.
Cancel QuickBooks Online Account
Follow these steps to cancel your QuickBooks Online account subscription:
- Sign in to QuickBooks Online as an admin user.
- Go to Settings.
- Go to Accounts and Settings.
- Choose the Billing and Subscription tab.
- Select Cancel Subscription or Cancel Your Trail in the QuickBooks section.
- Select Continue to Cancel.
- Select Submit and Cancel Subscriptions.
- Click Got It.
Points to Consider Before Deleting QuickBooks Account

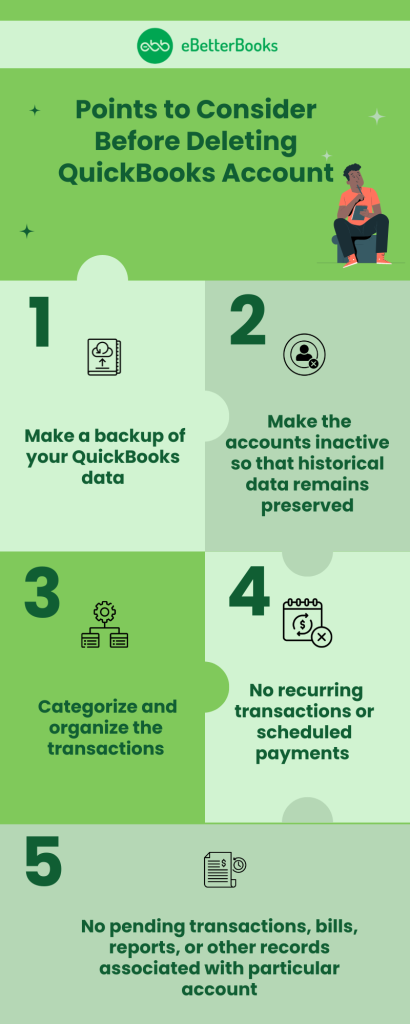
You need to take care of this important information before starting with the process of deleting your QuickBooks account:
- Always make a backup of your QuickBooks data.
- Before deleting an account, check if it is associated with any pending transactions, bills, reports, or other records. Deleting accounts linked to historical financial data may result in errors or inaccuracies.
- Make the accounts inactive so that historical data remains preserved.
- There should be no recurring transactions or scheduled payments linked to the particular account that you want to delete.
- Make sure that transactions are categorized and organized accordingly.
Conclusion
The process of deleting a QuickBooks account may vary depending on whether you are using QuickBooks Desktop or QuickBooks online. QuickBooks Online allows the deletion of QuickBooks accounts through its cloud interface. On the other hand, QuickBooks Desktop needs manual steps involved in it’s locally stored software.
Irrespective of the version, a user must take care of several considerations, such as creating a backup of QuickBooks data, an association of pending records, and recurring transactions or scheduled payments related to QuickBooks account, before proceeding to delete QuickBooks account.
Still have questions? Explore our detailed FAQs.
Disclaimer: The information outlined above for “A Step-by-Step Guide How to Delete QuickBooks Account” is applicable to all supported versions, including QuickBooks Desktop Pro, Premier, Accountant, and Enterprise. It is designed to work with operating systems such as Windows 7, 10, and 11, as well as macOS.
